|
FAQ
|
|
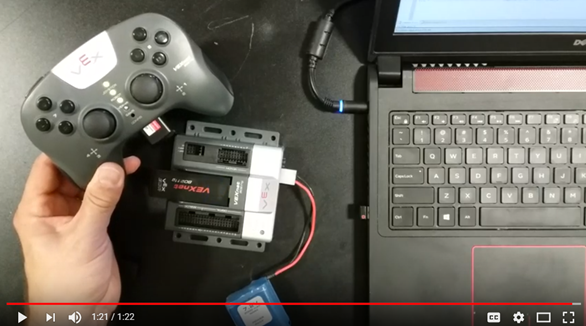
A1 – View
the following video:
A2 – Or,
follow these steps:
|
|
A – The
VEX robots with cortex microcontrollers use the free software called
RobotC. It is available for Windows only. You can download
this software at the following link: https://www.vexrobotics.com/robotc-vexedr-vexiq.html Note that
this software will NOT work with the newer V5 microcontrollers. Note that
this software will work with the VEX IQ robots. |
|
Q – During the RobotC
installation, should I install the device drivers when prompted? A – Yes
you should. In fact, it might prompt
you twice for the same driver. Say
yes both times. |
|
Q – After installing RobotC, which
program icon should I use? A – You
will find an icon called “RobotC for Vex Robotics” on your Desktop or in
your menu. Open it. |
|
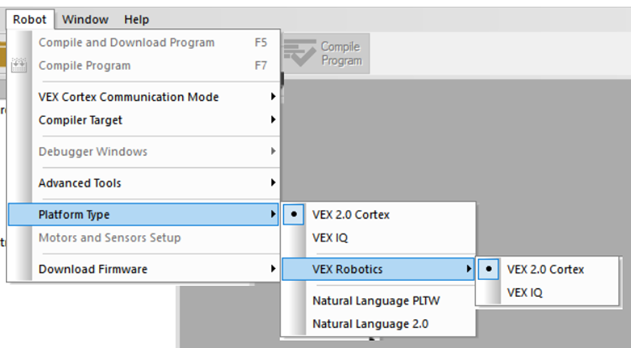
Q – Do I need to the set the
platform for RobotC to work? A –
Yes. Once you enter RobotC, you to
need to specify that you will be working with VEX 2.0 Cortex and not with
VEX IQ. To do
this, click on Robot > Platform Type > Vex Robotics and choose VEX
2.0 Cortex.
|
|
Q – Is it necessary to program the
robot the first time I use it? A – The
answer is no if the robot program has never been changed before. The cortex comes with a default program
on it that allows the joystick to control the clawbot. However,
if the robot program was changed by the last users, you will need to put
the default program back onto the robot. |
|
Q – How do I put the default
program onto the cortex? A – First
you need to open the default program in RobotC (see below). Second,
you need to transfer the program to the robot (see below). |
|
Q – How can I open the default
cortex program? A – Open
RobotC. Make sure you have the
correct platform selected. Then,
choose File > Open Sample Programs. Then,
inside the Advance folder, choose ROBOTC
VEX Cortex Default.c. |
|
Q – How do I transfer a program to
the robot? A – The
simplest way is connect directly to the cortex using these steps: 1 – Place
the robot on the ground (in case it starts moving after program transfer). 2 –
Unplug the USB key from the cortex. 3 – Use
the orange USB cable to connect the computer to the cortex. The cortex needs to be powered (I think). 4 – In
RobotC, open the program that you want to transfer to the cortex. 5 – At
the top of the RobotC interface, click on Download To Robot. 6 – Wait
for the transfer to be done. 8 –
Re-insert the USB key to the cortex. 9 – When
you turn on the cortex again, your program should be running. |
|
Q – Do we need a motor controller
for each motor? A – A
motor controller, seen here, is needed
for every motor in Vex EDR. However,
ports 1 and 10 on the Cortex already have motor controllers built into them
so they do not need another controller. |