|
MINI LESSON 3 – RESISTORS GENERAL
INFORMATION
·
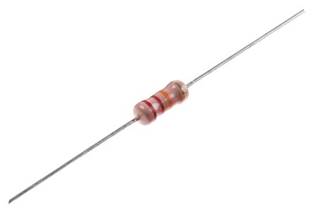
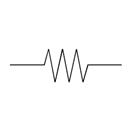
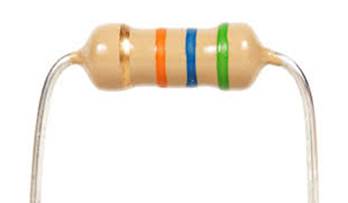
Here is an image of a resistor:
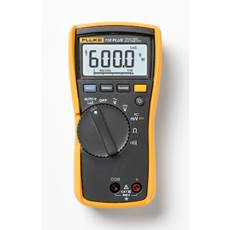
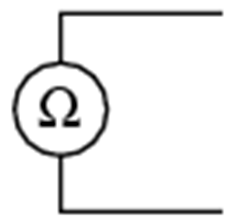
MEASURING RESISTANCE ·
To measure resistance, we use an
ohmmeter. Nowadays, an ohmmeter is
part of a multimeter. The image below shows a typical multimeter (left) and the symbol for an ohmmeter (right).
·
To measure the resistance of a
resistor, we must follow these steps: o
set the multimeter
dial to the ohm symbol o
disconnect the resistor from any
circuit o
connect each probe to one side
of the resistor (preferably using alligator clips) o
read the meter to get the
resistance in ohms CALCULATING RESISTANCE ·
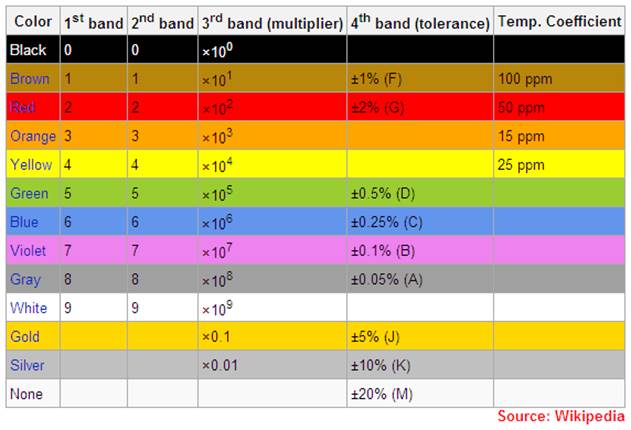
Most resistors have colored
stripes on them. We will work with
resistors that have 4 stripes on them (though some have 5 stripes). ·
The stripes allow us to
approximate the resistance of that resistor.
To do this approximation, we need to use a resistor chart (below).
·
Here are the steps to follow to
calculate the resistance of a resistor: o
Find the silver or gold band. That is the 4th band and allows
you to orient the resistor correctly. o
Using the above chart, the
colour of the 1st band gives you the first number of the
resistance. o
The colour of the 2nd
band gives you the second number of the resistance. o
The third band gives you the
multiplier by which you multiply the first two numbers to get the resistance
value.
|