|
GOOGLE SKETCHUP – TUTORIAL 1
The goal of
this tutorial is you get you acquainted with the basic SketchUp tools. STEP 0 Locate the
following tools on your toolbar:
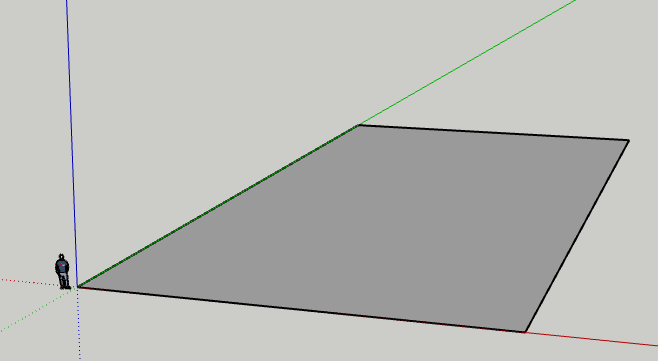
Locate the
Undo and Redo buttons at the top of your interface. STEP 1
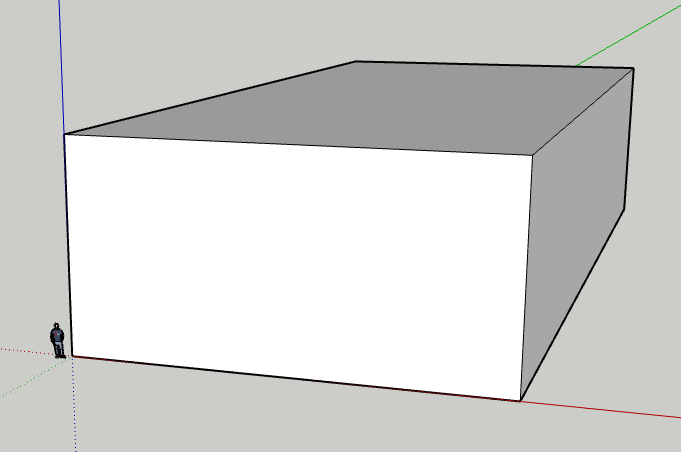
STEP 2 Use the
Push/Pull tool to pull up the rectangle.
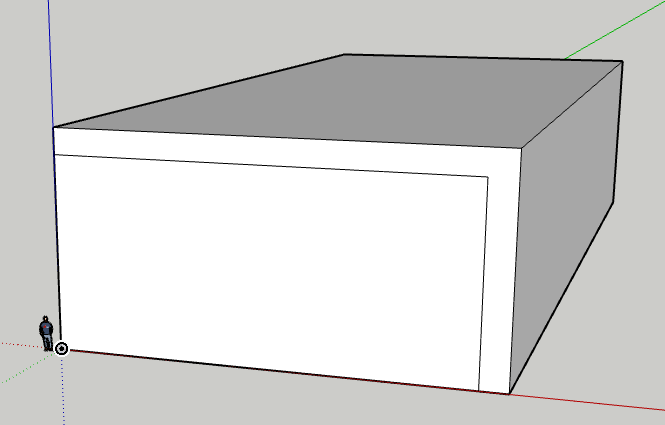
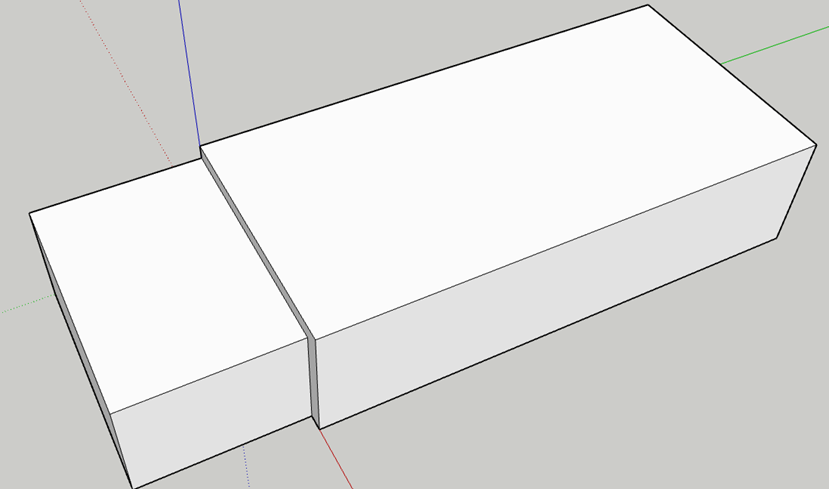
STEP 3 Use the Rectangle
tool to draw a rectangle on the surface of your prism.
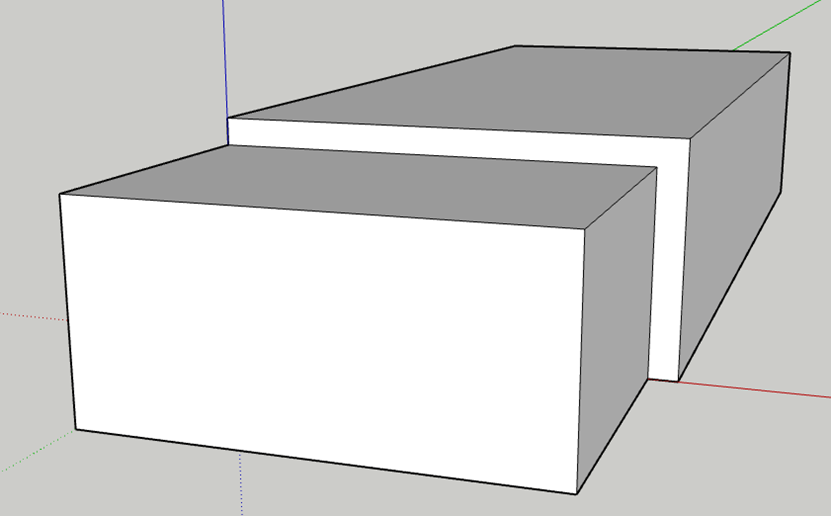
STEP 4 Use the
Press/pull tool to pull out the rectangle.
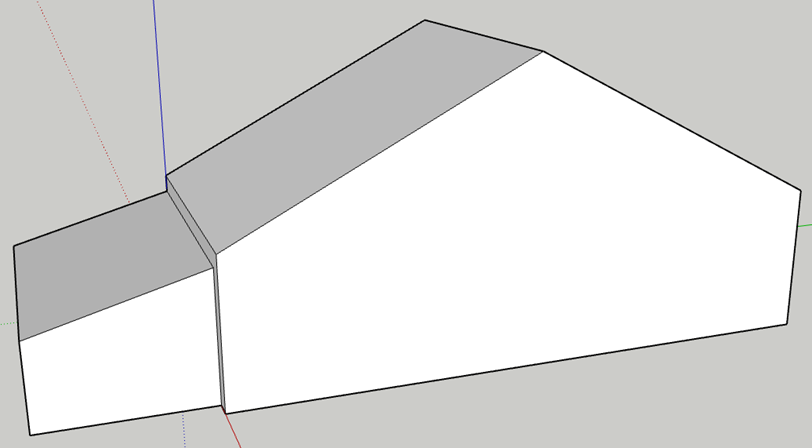
STEP 5 Use the Orbit
tool to get a good view of the top of the largest prism.
STEP 6 Use the
Pencil tool to create a line from midpoint to midpoint at the top of the
prism.
STEP 7
STEP 8
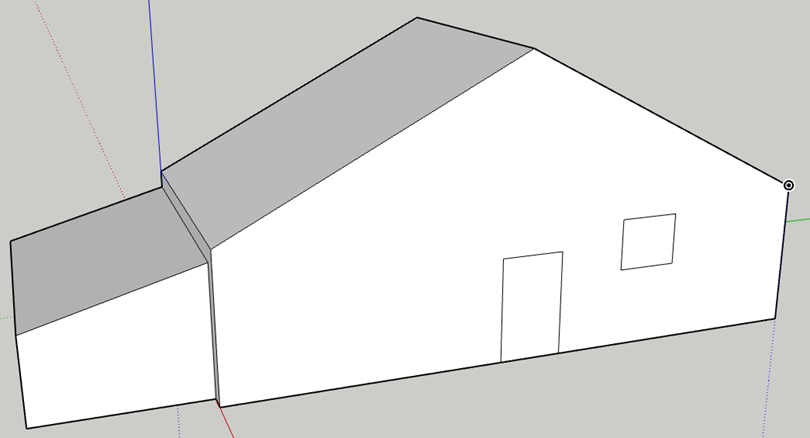
STEP 9 Use the
Rectangle tool to draw a door and window.
Note that you can use the location of the midpoint at the bottom to
approximately place the door in the middle.
Don’t worry about being perfect for now.
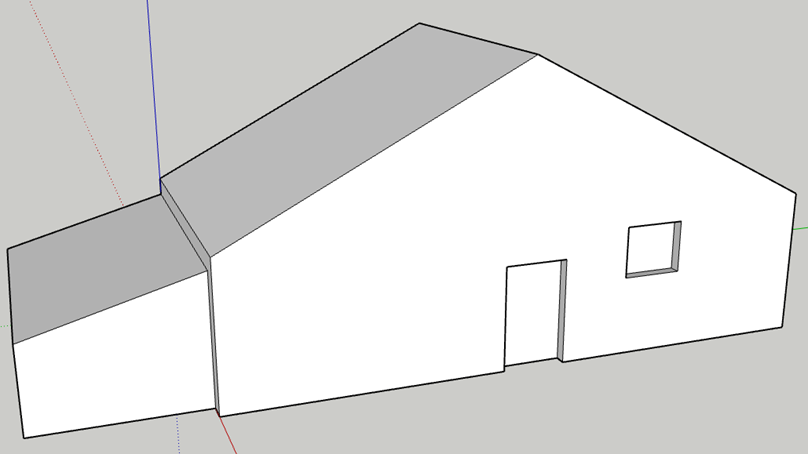
STEP 10 Use Push/pull
to push in the door and window.
STEP 11 Use the Pencil
tool to draw a line at the bottom of the roof’s triangle.
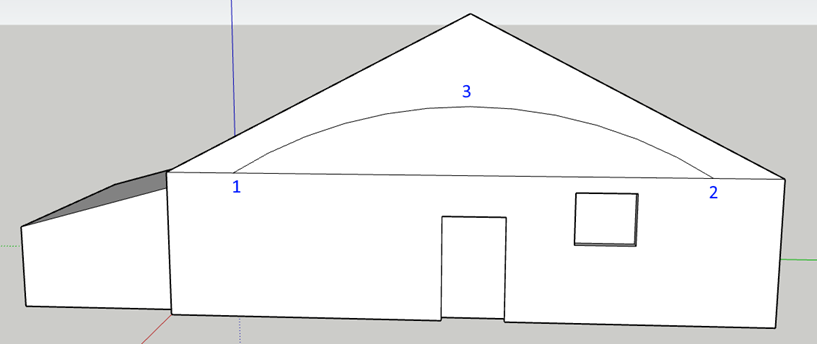
STEP 12 Use the Two-Point
Arc tool to create the arc below. The
numbers show the order of the clicking that you need to use. You should be looking at your surface
straight on in order to properly approximate the placement of your arc.
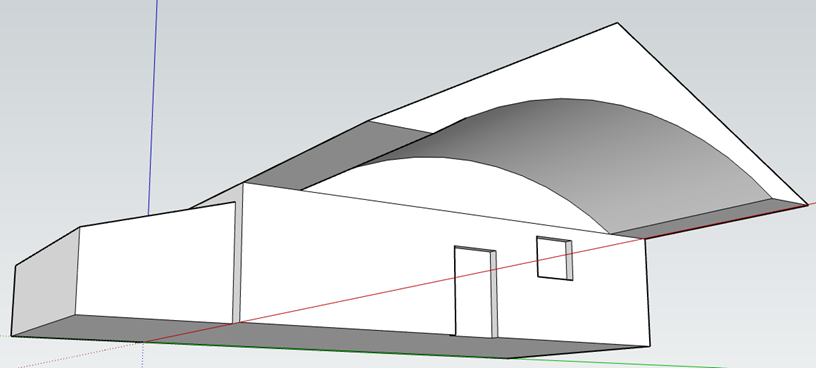
STEP 13 Use the
Press/pull tool to pull out the roof.
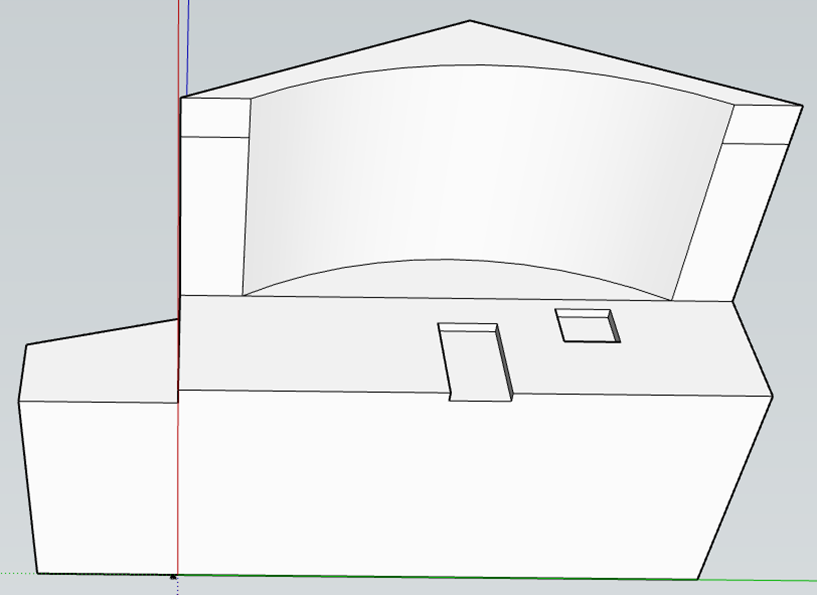
STEP 14 Use the
pencil tool to draw a short line under the flat area of the roof. To draw the second short line, you will see
a guide line that helps you make the line at the same place on the other flat
area of the roof.
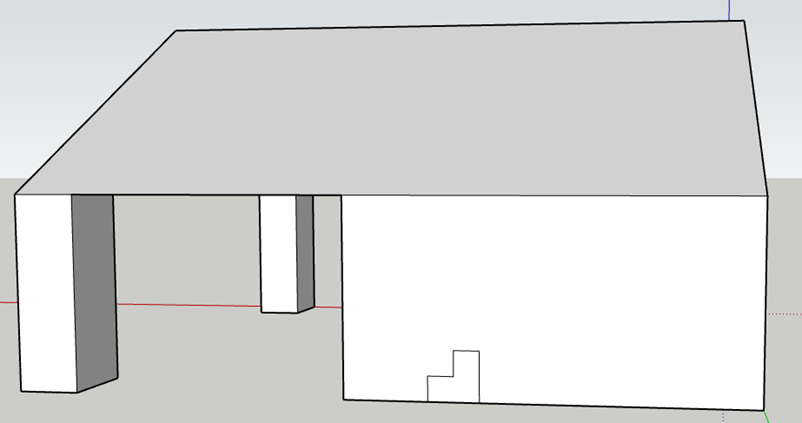
STEP 15 Use the Press/pull
tool to pull down two posts. For each
pull, when dragging down the post, bring the mouse cursor to the bottom of
the house before releasing in order to align the bottom of the posts with the
bottom of the house.
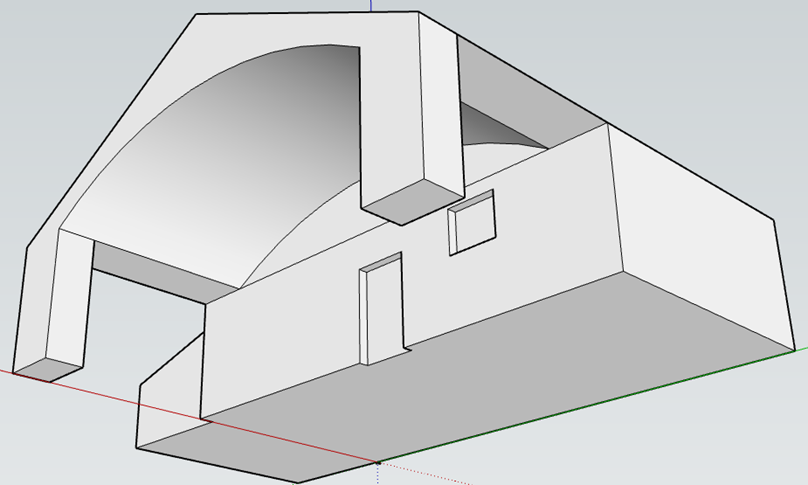
STEP 16 Use the
pencil tool to create a profile of a staircase. You can have more stairs if you want. Note that you can specify the length of the
line by first clicking on the starting point of the line, then typing in the
desired length and hitting Enter. Of
course, you will have to try a few different lengths to see what works for
your drawing.
STEP 17 Pull out the
stairs.
STEP 18 Use the Pencil
tool to add a line behind the stairs.
STEP 19 Pull out the
top of the stairs. Then pull it out
around the corner as well.
STEP 20 Add a short horizontal
line on the side of the stairs.
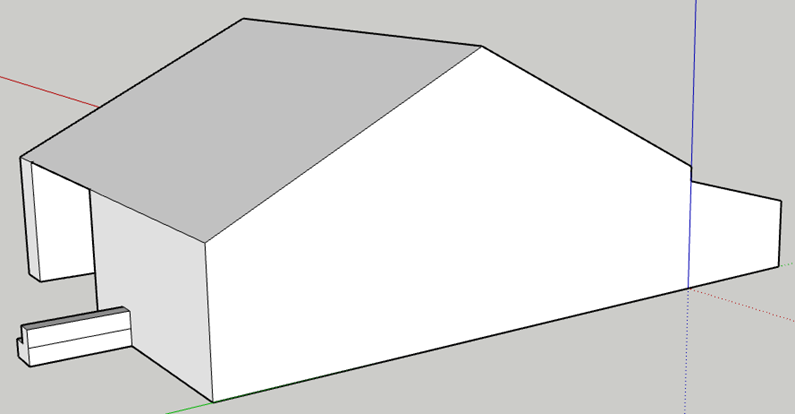
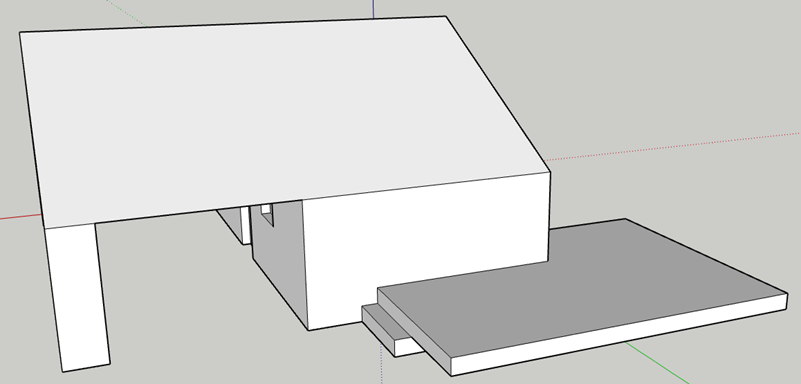
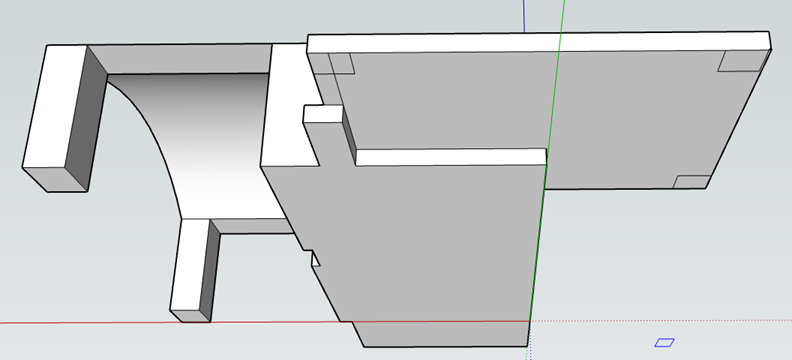
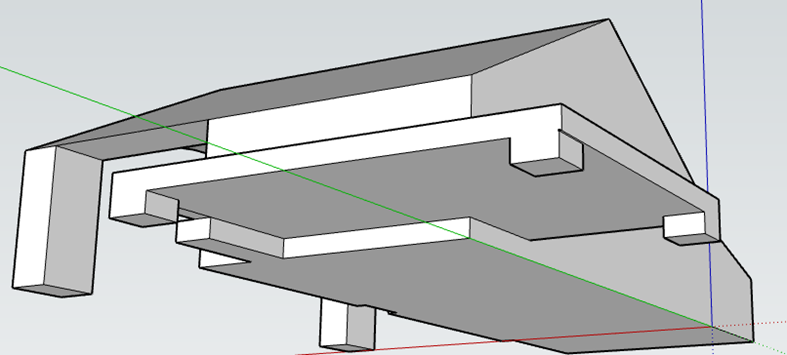
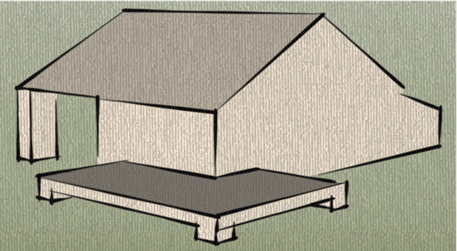
STEP 21 Pull the deck
to extend away from the house.
STEP 22 Under the
deck, add three rectangles. You can
specify their measurements in the bottom right corner using a comma to
separate the two dimensions.
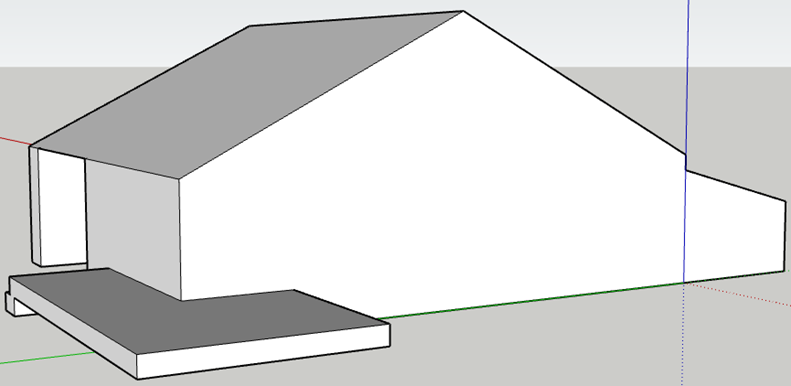
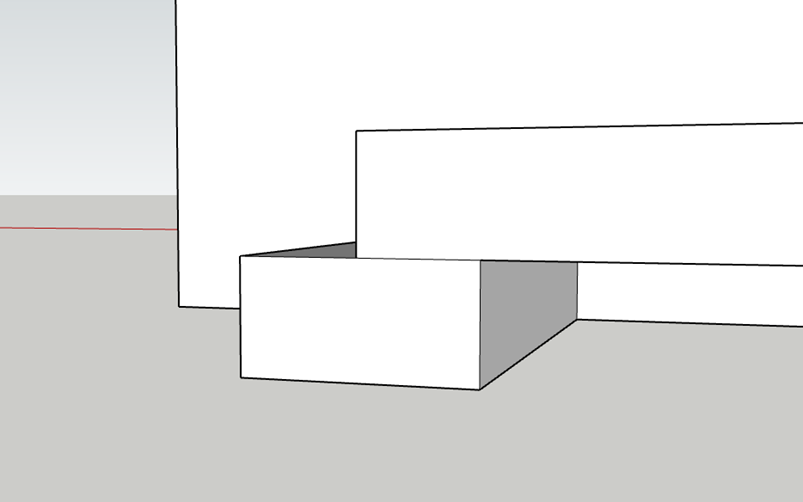
STEP 23 Pull down the
rectangles to make them posts. Remember
that if you drag down the posts and then mouse over the bottom of the house,
the posts will automatically be pulled to the same level as the bottom of the
house.
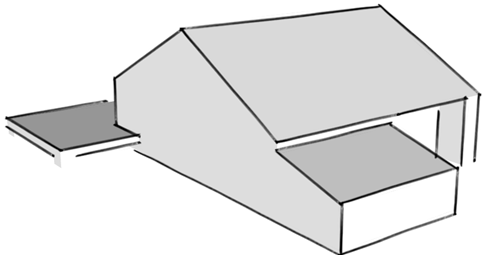
STEP 24 Explore the
Styles button. Try out different styles
for your model. Below are a few examples.
|