Tutorial 4 – Power of Layers
Note: This
tutorial was created for PS Elements 1.
It might need to be changed slightly to work in PS Elements 5.
Source: This guide comes from the Adobe Photoshop Elements 1 help
files.
Before starting, save the following files to your H drive:
When you
create, import, or scan an image in Adobe®
Photoshop® Elements the image consists of a
single layer. You can add more layers to your image, and each layer can then be
edited as a separate piece of artwork, allowing unlimited flexibility in
composing and revising your image.
This Web
tip will acquaint you with some layer basics, so let's get started.
1. Open a
layered document.
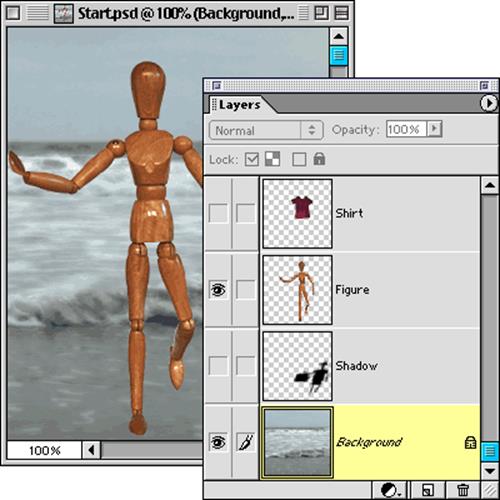
Open the
"Start.psd" file for this Web tip in the Tutorials folder located
inside the Adobe Photoshop Elements application folder. By default, the Layers
palette should show. If not, choose Window > Show Layers.
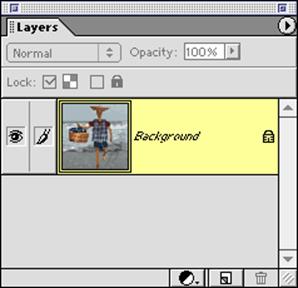
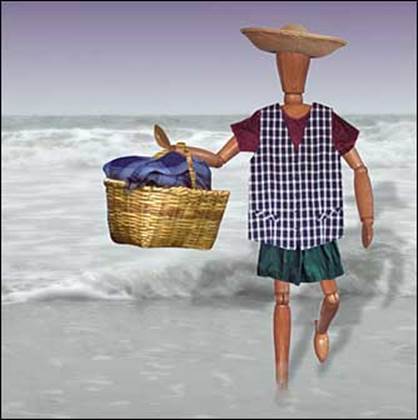
Notice
that "Start.psd" has multiple layers, including a background
layer, which contains a beach image that shows through the transparent areas of
the subsequent layers. You'll see a checkerboard pattern indicating the
transparent areas of a layer.
2. View and
manipulate layers in the Layers palette.
The Layers
palette displays all the layers in your document with the layer name and a
thumbnail of the layer's image. You can view or hide a layer using the eye
icon. Click the eye icon on a layer. Notice that the icon disappears and the
layer is hidden. Click the empty icon box again. Both the eye icon and the
layer's content reappear.
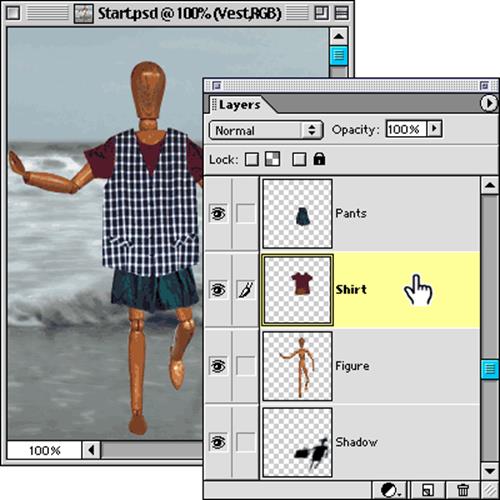
You can
modify a layer without disturbing the artwork on the other layers. Click a
layer name in the Layers palette. The layer you clicked is now highlighted,
indicating that it is active and editable.
Changing
the stacking order of your layers makes certain parts of the image appear in
front of or behind other layers. Move the pointer over a layer name, and the
pointer becomes a pointing finger. Click and hold down the mouse button, then
drag the layer to a different stacking position. Release the mouse button.
3. Add and
name a layer.
The power
of layers is that you don't have to do all your image editing on one layer.
Click the Create a New Layer button in the Layers palette. A new layer appears
above the active layer in the Layers palette. You'll also discover that
creating type with the type tool and using the shape tool will automatically
add a new layer.
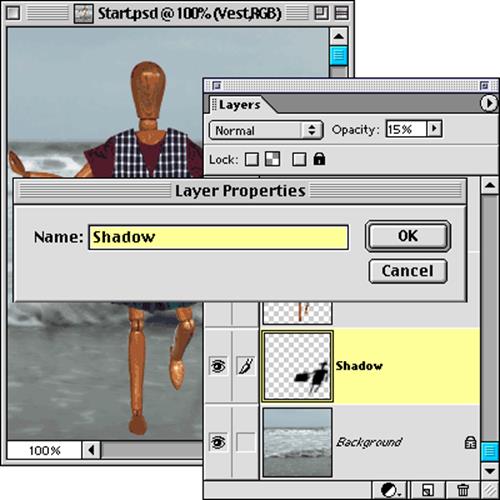
As you add
more and more layers to your document, you'll probably want to give them more
descriptive names so you can easily identify their content. Here's how to name
a layer. Double-click a layer to open the Layer Properties dialog box. Type the
name of the layer in the text box, then click OK.
4. Move a
layer between documents.
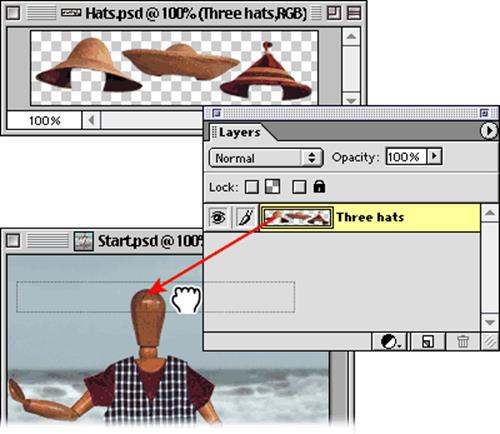
It's no
problem to add artwork from another Photoshop document to your current image.
Photoshop layers can be moved from one file to another.
With the
"Start.psd" file still open on your desktop, open
"Hats.psd" in the Tutorials folder. Grab the three hats layer in
"Hats.psd" and hold down the mouse button as you drag the layer to
the document window of "Start.psd." Release the mouse button. Close
"Hats.psd."
5. Edit
artwork on a layer.
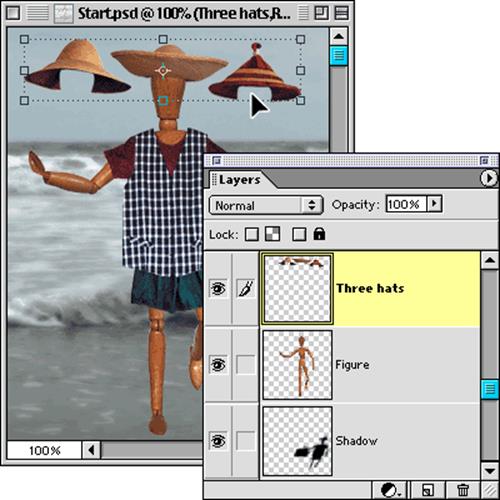
Now you'll
learn how to edit artwork on a layer without changing the other layers. Click
the three hats layer in the Layers palette to make it active. Then select the
move tool and drag the artwork on the active layer. Notice that only the
artwork on the active layer is moved. You can position a hat over the dummy's
head.
While
working on this Web tip, use the Step Backward button in the shortcuts bar to
undo any action and restore the artwork.
6. Erase
artwork on a layer.
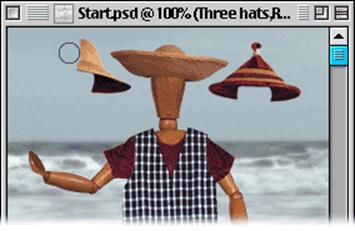
With the
three hats layer active, select the erase tool. Use the erase tool to remove
two of the hats. Again, notice that only the artwork on the active layer is
affected.
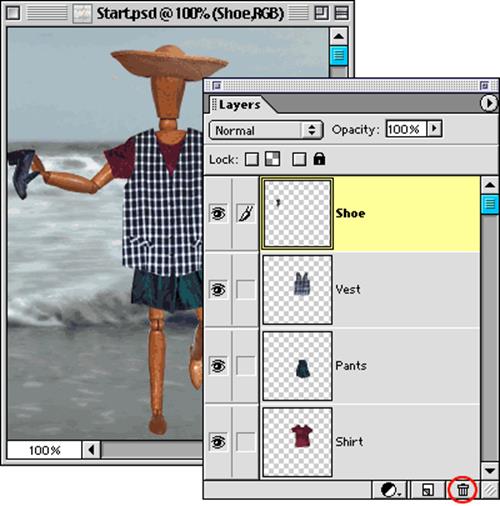
7. Delete a
layer.
You can
also remove artwork from your document by deleting a layer. Make the shoe layer
active in the Layers palette, then click the Trash button. Only the active
layer and its artwork are removed from the file.
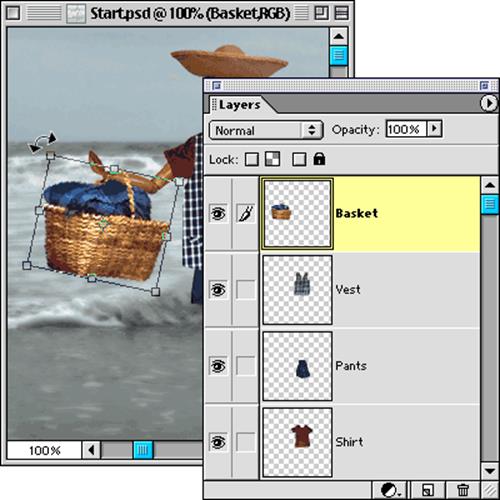
8. Scale
and rotate objects.
Now
suppose you want to change the size or rotate artwork on a particular layer.
Open "Basket.psd" in the Tutorials folder and drag the basket layer
to "Start.psd." Close "Basket.psd." Make sure the basket
layer is active.
Choose
Image > Transform > Free Transform. A bounding box with handles
appears around the artwork you're modifying. To scale artwork, position the
pointer over one of the handles of the bounding box until you see a
double-headed arrow. Then drag the handle to scale the artwork to the desired
size. To rotate the artwork, position the pointer outside the transformation
bounding box until you see a curved double-headed arrow. Then drag clockwise or
counter-clockwise to rotate the artwork. Press Enter (Windows) or Return (Mac
OS) to apply the transformation changes.
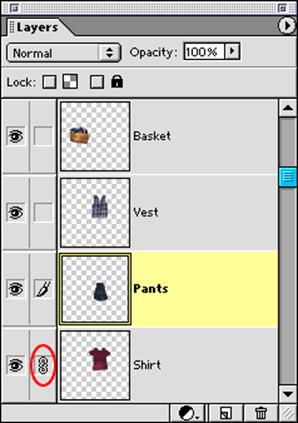
9. Link
layers.
An
efficient way to work with layers is to link two or more of them together. By
linking layers, you can move and transform them simultaneously, thereby
maintaining their alignment with each other.
With the
pants layer active in the Layers palette, click the small box to the right of
the eye icon in the shirt layer. A link icon appears in the box, indicating
that the shirt layer is now linked to the pants layer. Select the move tool and
position it in the image window, and drag. Notice that the artwork on the
linked layers moves simultaneously. To unlink a layer, click the link icon in
the linked layer. The link icon disappears, indicating that the layer is no
longer linked to the active layer.
10. Flatten
layers to reduce file size.
When
you've finished editing all the layers in your image, you can flatten a file's
layers. This merges all the layers into a single background layer, greatly
reducing the file size.
To flatten
a file, choose Layer > Flatten Image. Then choose File > Save As. In the
dialog box, type the name of your flattened file and click Save. The Save As
command saves the flattened version of your file while leaving the original
file and all its layers intact in case you need to edit a layer later.