Tutorial 3 – Cow Apple
By Andrew Nunn
Note: This tutorial was
created for PS Elements 1. It might
need to be changed slightly to work in PS Elements 5.
Making an apple with cow skin
1. Open up photoshop elements.
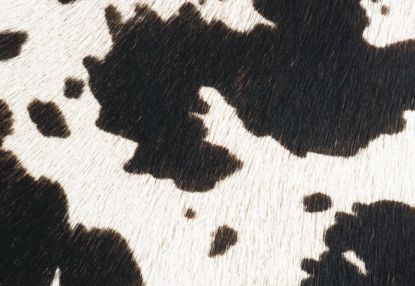
2. Save the pictures below.
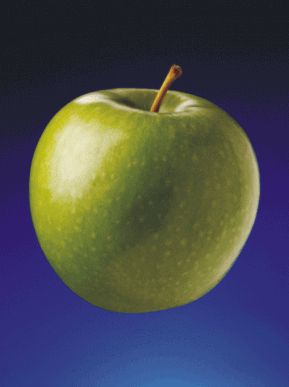
Now Open up the apple in photoshop.
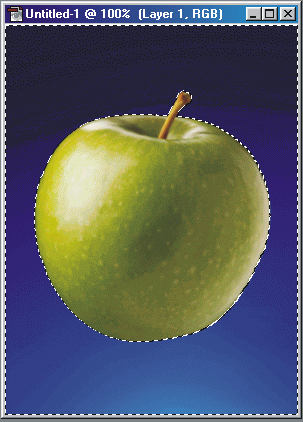
Select the Magic Wand Tool (make
sure it has a tolerance of 80.).
![]()
![]()
Click in the blue area around
the apple, you will have to hold shift and select the rest of the blue area.
Once selected, Press Ctrl +
Shift + i , Or , Right-click and select inverse.
The apple should now be
selected.
Press Ctrl + X to cut the apple.
Open up a new document, the size will be set automatically to the size of the
apple.
Press Ctrl + V to paste it.
Save.
Open up the cow skin.
Make sure your on the cow skin
and press Ctrl + A then Ctrl + X to cut it.
Create a new layer in the apple
file and press Ctrl + V to paste it.
Move the cow skin around to find
a nice spot where the cow skin would look on the apple. Also make sure it fits
over the entire apple.
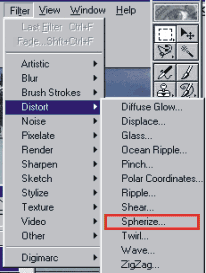
After you’ve made the
adjustments, Use the spherize filter.
Set it too 100% and click Apply
or Ok.
Ctrl + Click The Apple Layer
then click the cow skin layer
and press Ctrl + Shift + i.
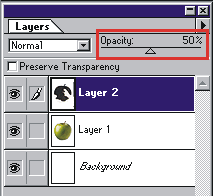
And press “delete”. Now turn the
opacity to 50 and your done!
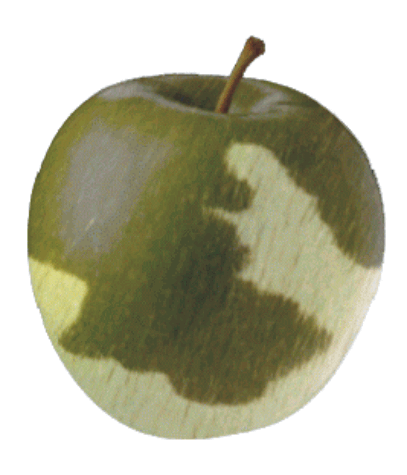
It should look something like
this.