Tutorial 1 – MP3 Player
Note: This
tutorial was created for PS Elements 1.
It might need to be changed slightly to work in PS Elements 5.
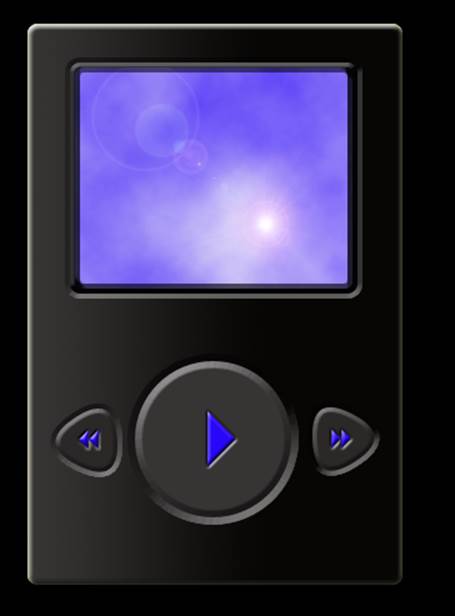
Create your own
MP3 Player!
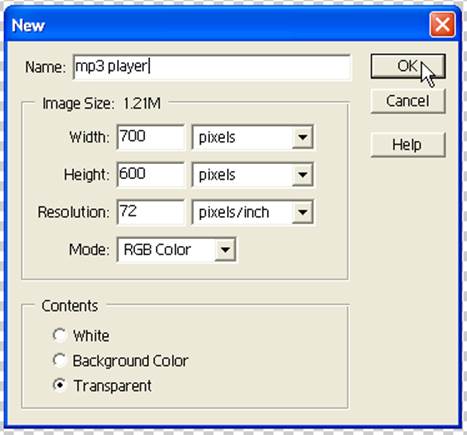
Create
a new Document (File > New). Name the
file mp3 player and make the dimesions as shown
below. Make sure the contents are
transparent (that is the background that you start with). Choose OK.
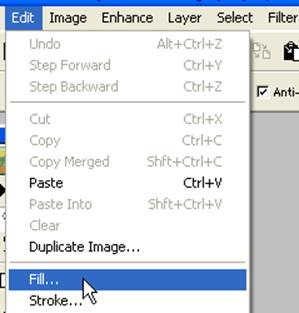
We are going to
start with a black background. To do
this, choose Edit > Fill.
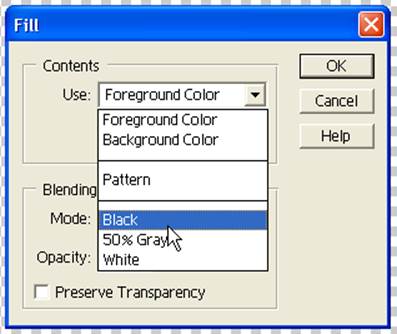
From the Fill
Options screen, choose black from the use: drop down list and choose OK.
We are going to
be using layers. Layers are like layers
on a cake-they get stacked one on top of another. Whatever is at the top is seen before the
layers below.
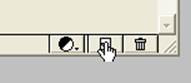
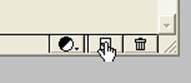
To create a new
layer, click the new layer icon on the layers pallete.
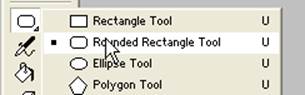
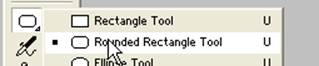
We are now
going to create a rounded rectangle. To
do so, click and hold the custom shape tool (looks like a heart) on the toolbar
until you get the rest of the list.
Choose the rounded rectangle tool.
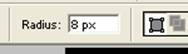
Once you have
chosen the rounded rectangle tool, you will notice different options just below
the menu bar (at the top). Change the
radius of the rounded edges of the rectangle to 8 px
(pixels).
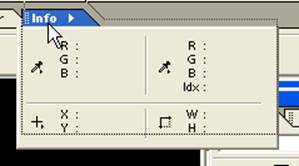
Open the Info
panel (Window > Info). This way you
will be able to see the size of the object you are drawing.
On the toolbar,
click the foreground colour and change it to a dark
grey. Change the background colour to black.

On your
workspace, click and drag the rounded rectangle tool from top-left to bottom
right. You want to make a rectangle that
is 300 in width and 450 in height.
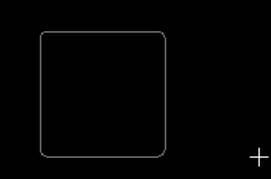
NOTE: If you receive smaller numbers than this for
the width and height, you can change the ruler units of measurement under edit
> preferences. Go to units and rulers
and change the rulers to pixels.
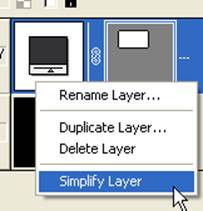
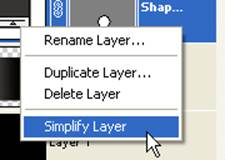
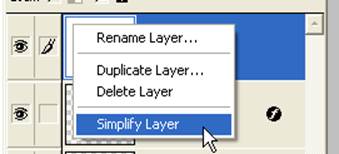
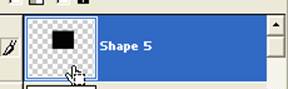
Once you have
created your rectangle, right click on the layer that contains the rectangle
and choose simplify layer. This will
give you the ability to edit the rectangle .
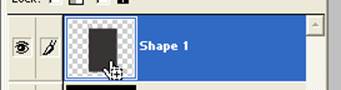
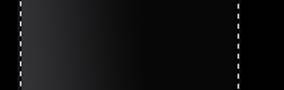
Next, press
ctrl on your keyboard and click on the image of the rectangle in the layers palette. You
will notice a dashed line around your rectangle. This means that any editing you do will only
be contained in the rectangle.
Choose the
gradient tool from the toolbar. Check to
make sure that you have a dark grey in the foreground and a black in the
background.

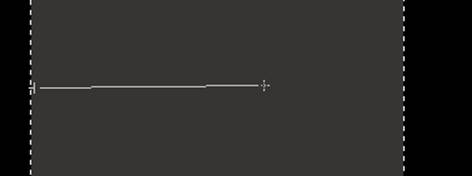
Take the mouse,
click and drag from the left-center of the rectangle to the middle. You will notice that the rectangle will now
have a gradient comprised of the two colours you chose.
Press ctrl+d to get rid of the dashed line around the rectangle.
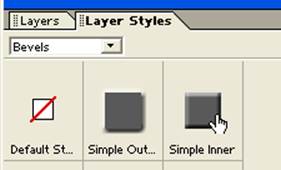
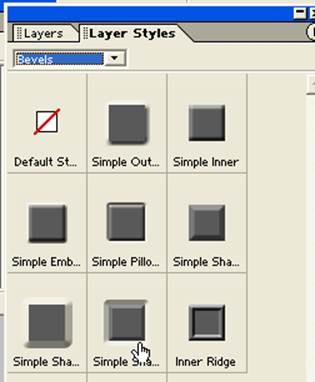
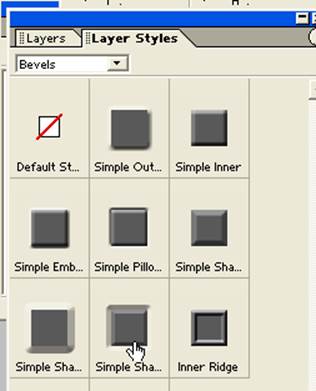
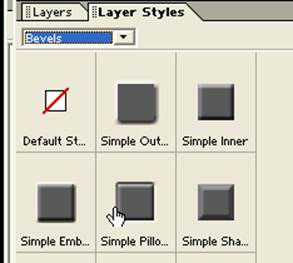
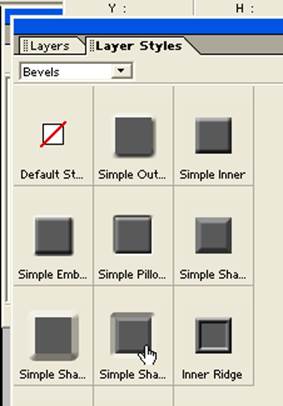
Choose the
layer Styles tab from the layers palette. From the drop down list, choose Bevels and
choose the Simple Inner Bevel.
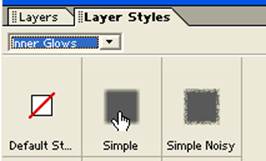
Change from
Bevels to Inner Glows in the layer styles palette.

Choose the
Simple inner glow from the list.
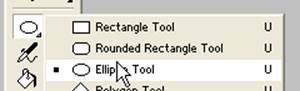
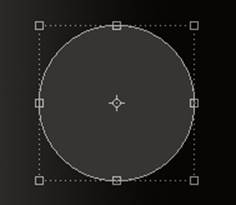
Next, choose
the elliptical tool from the custom shapes tools in the toolbar.
Draw a circle
within the rectangle. Use the shift key
to keep the circle uniform. Make the
circle approx 125 x 125. Notice that the
circle is created on a separate layer automatically.
Center the
circle in the middle of the rectangle, but down from the center. Make the circle centered between the left and
right sides, but put it in the bottom half of the rectangle.
Simplify the
layer by right-clicking on the layer and choosing simplify layer.
From the layer
styles choose ‘Simple Sharp Pillow Emboss’.
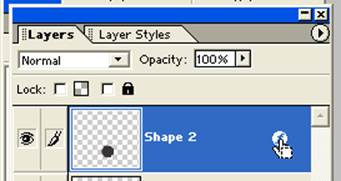
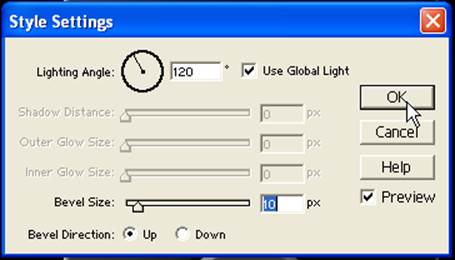
You can edit
the style put on the layer by choosing the small “f” on the right hand side of
the layer. Double click the symbol to
edit the layer style.
Increase the
Bevel Size to 10 px and choose OK.
Create a new
Layer.
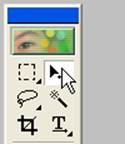
Choose the
Polygon tool from the custom shapes toolbar.
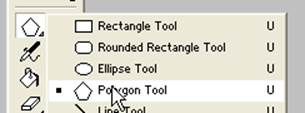
On the options
toolbar (under the menu toolbar), change the number of sides to 3.
![]()
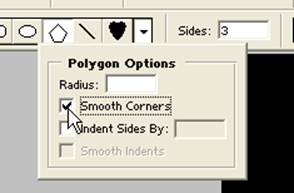
Also, click the
down arrow beside the sides options and select smooth corners.
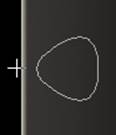
Create a
triangle as below. Create the triangle
approx 50 x 50 pixels.
Use the arrow
tool to move the triangle into position on the left hand side of the circle.
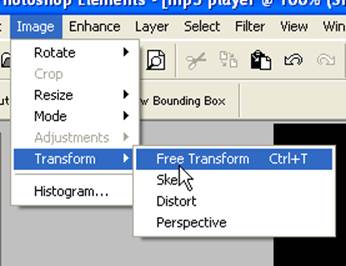
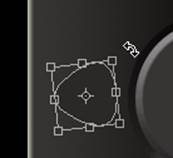
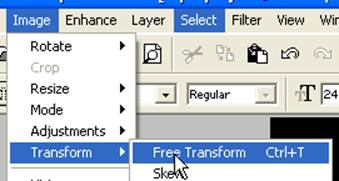
If you wish to
change the rotation of the triangle, you can use Image > Tranform
> Free Transform, or press ctrl+t. This tool allows you to rotate and resize the
object.
Once you have
the triangle in the position you want, right click the layer and simplify
layer. This is also called rasterizing
the layer.

From the layer
styles choose ‘Simple Sharp Pillow Emboss’.
Following the
last few steps, create another triangle on the opposite side of the
circle. Position it so it is aligned
with the triangle on the left. Add the
layer style to the triangle. You want it
to look something like below.
Once you have
finished with the triangles, choose the text tool from the toolbar.

From the
additional options, choose the Webdings font, change the size to 24, and choose
a bright blue colour as the font colour.
![]()
Over the left
triangle you have created, type the number 8.
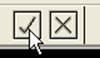
You will notice the double triangles that appear. Choose the checkmark to confirm the type.
Simplify the
layer.
You can rotate
the object by using the free transform tool.
Rotate the triangles so they face left.
Use the layer
style ‘Simple Pillow Emboss’.
The triangles
should look something like below.
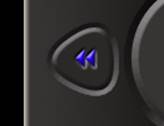
Repeat the last
few steps to create the double triangle on the right side of the mp3
player. Have them face right.
Using the text
tool and the webdings font at 72 pixels, type the
number 4 on the center circle. Use the
simple Pillow bevel (as above) to create the same effect as the last two
buttons.

Once you have
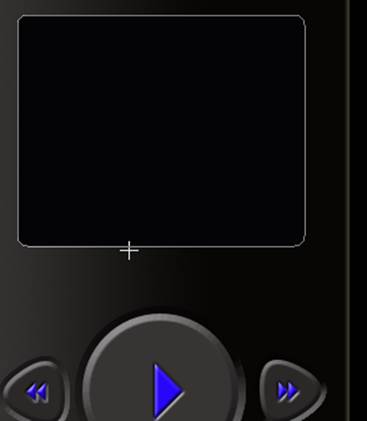
completed the triangles, choose the rounded rectangle tool from the toolbar.
Create a
rectangle in the upper half of the large rectangle you have been working
with. Make sure the colour
of the rectangle is black. The rectangle
I created is 240 x 200.
Choose the
layer style ‘Simple Sharp Pillow Emboss’.
Next press ctrl
and click on the image of the rectangle in the layers
palette.
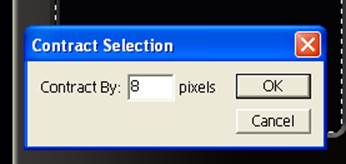
From the menu
bar, choose select > modify > contract to ‘shrink’ the marquee area you
have created (the dashed area).
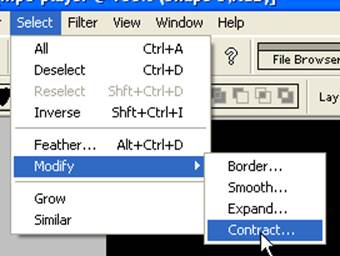
Contract the
rectangle by 8 pixels and choose OK.
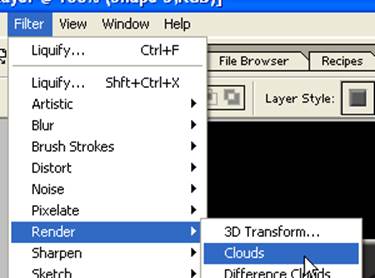
With that area
highlighted, add a wallpaper or image that you wish to put into the screen.
I have used a
filter called clouds and lens flare from the render group of filters to finish
the effect of the screen.
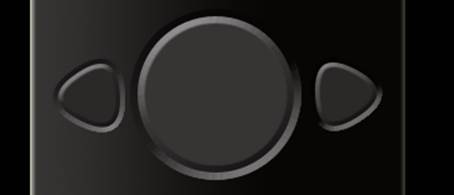
Here is my MP3
player. You can modify your mp3 player
as you wish.