MINI-TUT 02 – CLIPPIN’ COOL TEXT
YOU’LL DO THIS:


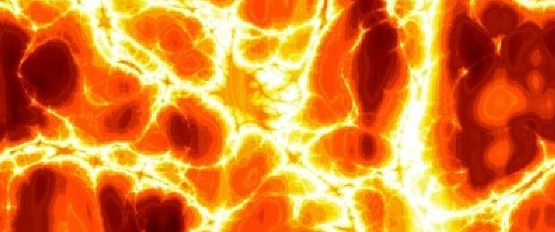
STEP 1
Use Google to find a texture image that you like. You can actually use any image that you like. Bring that image into Photoshop.
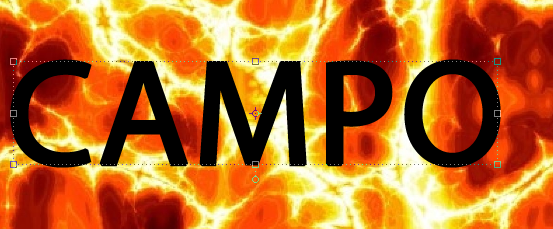
STEP 2
Add text on that image. This will
automatically create a new layer.
Make sure the text is large enough to fill a good portion of the image. However, do make sure there is room on the right hand side and at the bottom for a drop shadow.
STEP 3
Place the layer with the texture about the layer with the text.
STEP 4
Select the layer with the texture image and choose Layer > Create Clipping
Mask.

STEP 5
We can now merge the layers (Layers > Merge Visible).
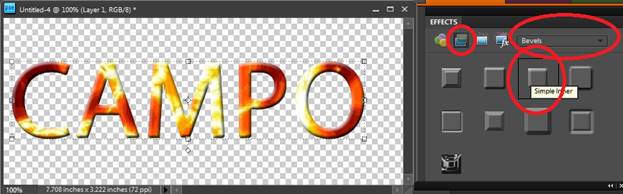
STEP 6
We want use a bevel to make the letters look a little 3D.
a) Open the Effects menu (Window > Effects)
b) Carefully find the Bevel option (see image below for help)
c) Apply the bevel.
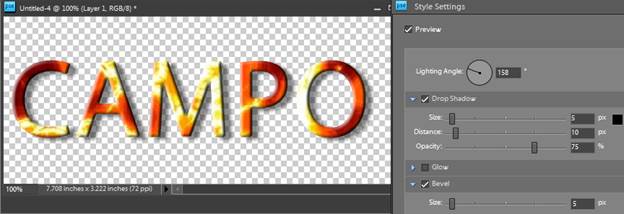
STEP 7
Beside the layer name, you will find a small image saying “fx”. Double click on it to also add a drop shadow. Note that you can also change the bevel settings here. Use the configuration that you like.
STEP 8
To fully see what this looks like, we need to add a white background. Simply add a layer and fill it with white.
