Creating Eyeballs Tutorial
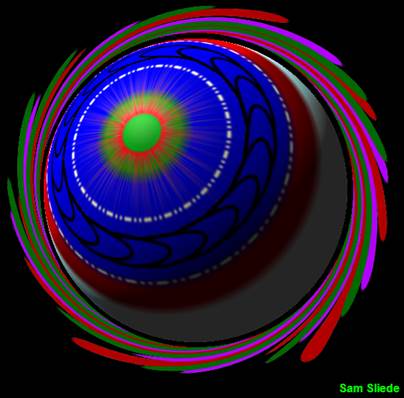
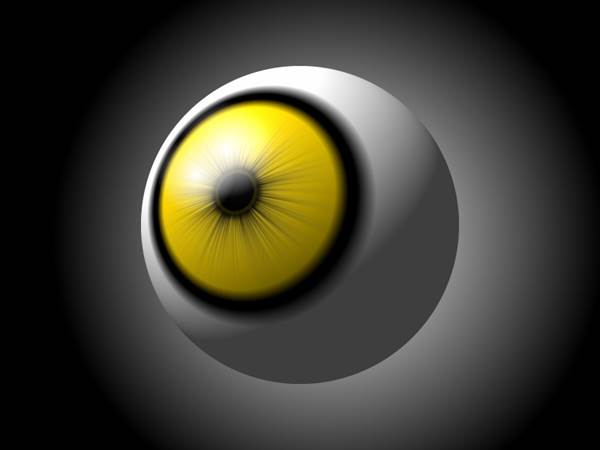
Are you ready for something cool? In
this tutorial, you will create something like this:
STEP 1
Be sure that you have the following
plug-ins (effects). They are available
on our course website in the Plug-ins section.
- Shape3D
- Panelling
Effect
- Gradient Bars
Ready to go? Let’s have some fun!
STEP 2
Start with a blank canvas that is
800x600.
If you need to change your canvas size, use
Image > Canvas Size.
STEP 3
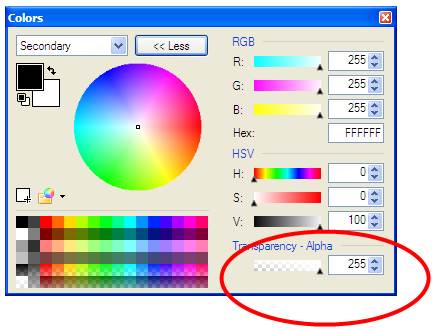
Set the Secondary colour’s Alpha to 0. An alpha value of 0 means that the secondary colour is fully transparent.
STEP 4
Set
the Primary colour to black.
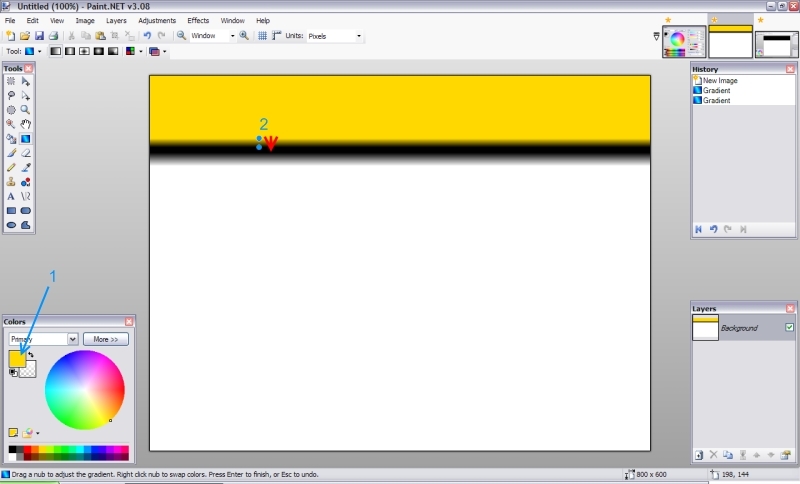
STEP 5
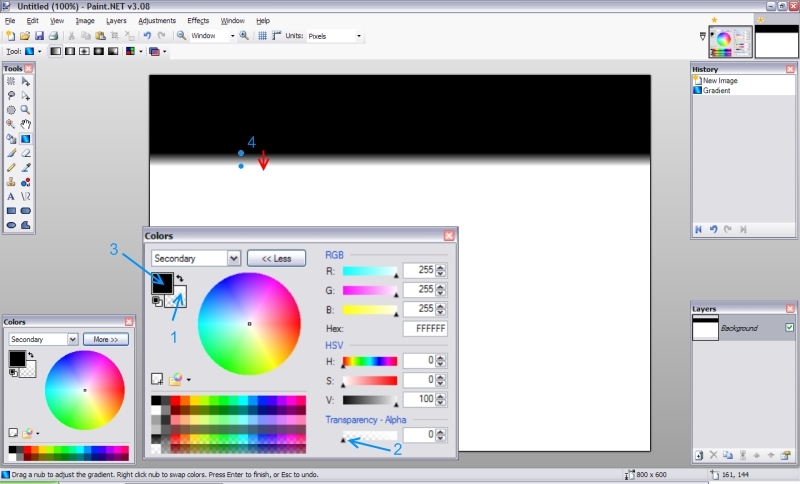
Use
the gradient tool create the gradient seen below. To do this, you must do the following:
1-Select the gradient tool on the
left.
2-Click where the top dot is
located and hold.
3-Drag downwards amount 2
millimeters and release.
Note:
Hold the Shift key when using Gradient so you get a nice Horizontal gradient!!
Note2:
Don't forget to use the Enter key to end
the gradient session. So when you select the next color, you gradient color
won't change with it.
STEP 6
Change
1st color to the eye color you want.
(Yellow is used in tutorial.)
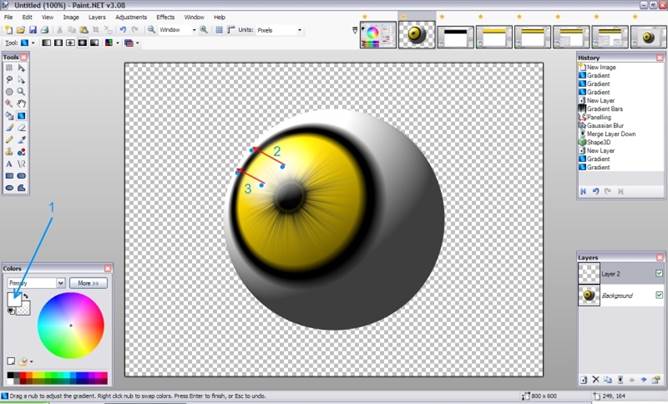
STEP 7
Apply
the gradient tool as shown below. Again,
click where the top dot is and drag to where the bottom dot is located.
You
will notice that the black colour is still visible
below. This is because the secondary colour is set to transparent (alpha of 0).
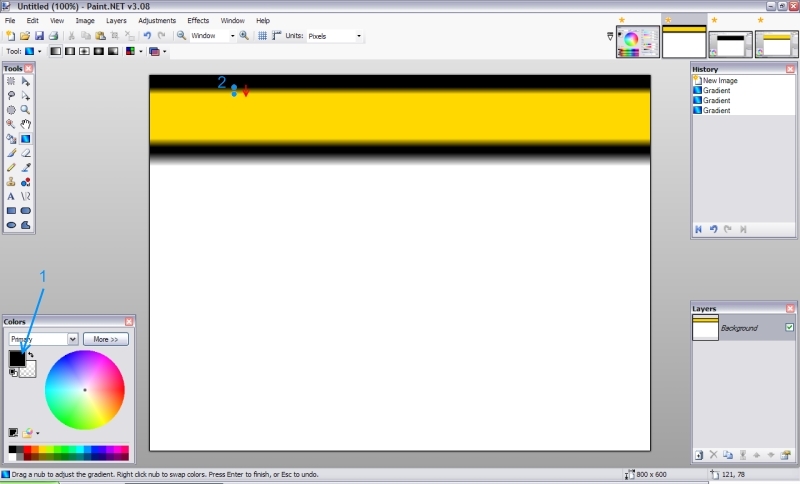
STEP 8
Change primary color to black again and use Gradient Tool as shown below.
STEP 9
Add
new layer.
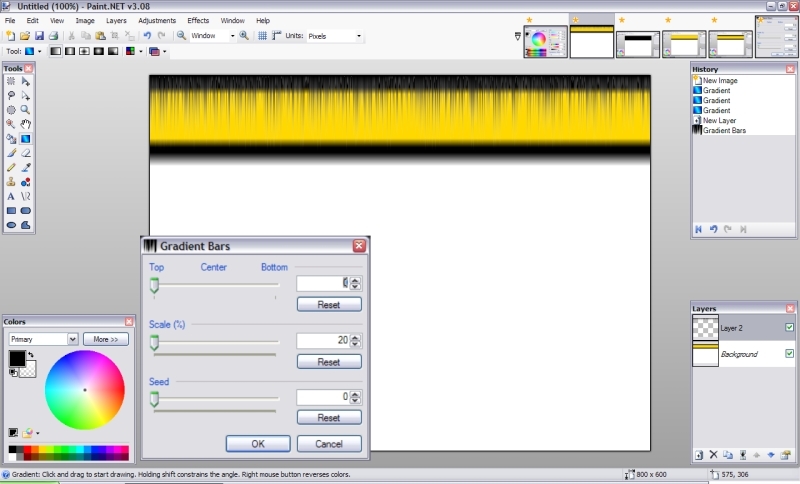
STEP 10
On the top
layer, use the Gradient Bars effect with the following settings
(Top,
S=20, S=0)
Things should look like this:
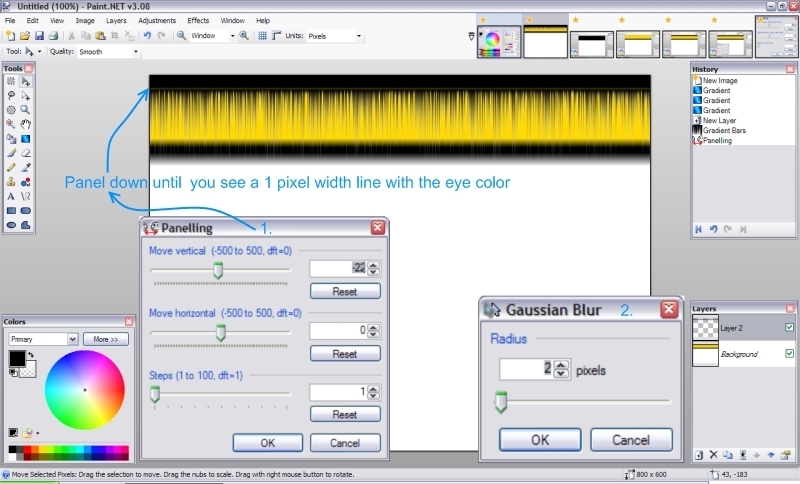
STEP 11
Use
Panelling with the following settings: (V=-22, H=0,
S=1)
STEP 12
Apply
a Gaussian Blur effect with the following setting: (P=2)
STEP 13
Flatten
image. This means that you need to merge
all layers into one using Merge layer down.
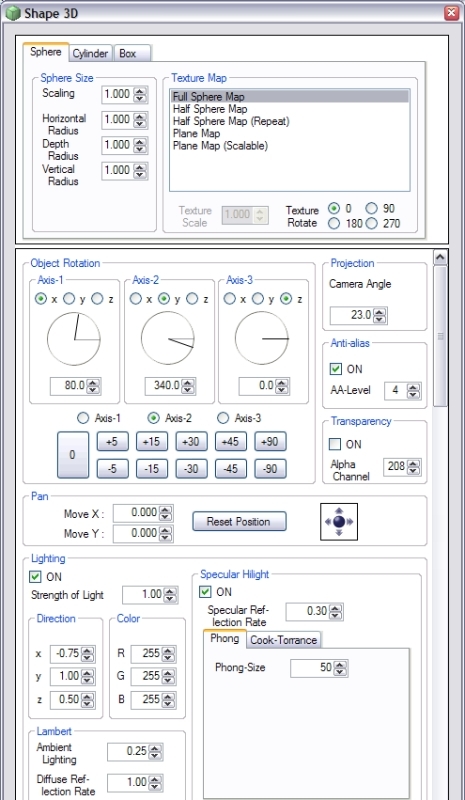
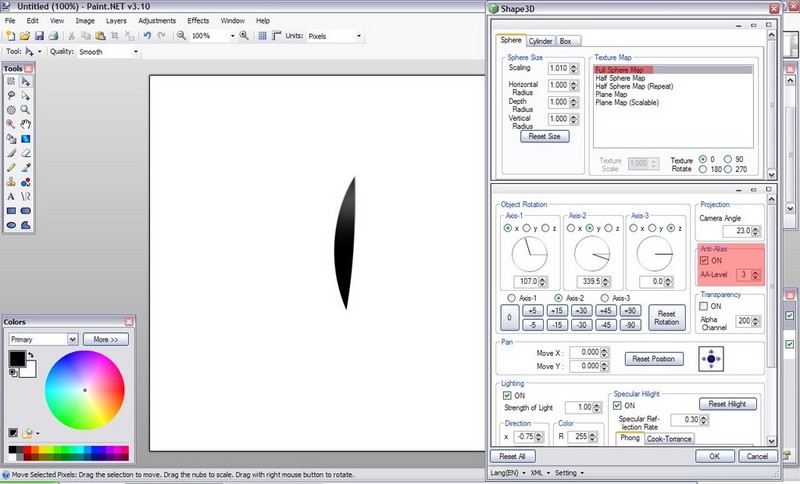
STEP 14
Use
the Shape3D effect. The image below
shows the suggested settings. Feel free
to explore with different settings.
STEP 15
Add new
layer.
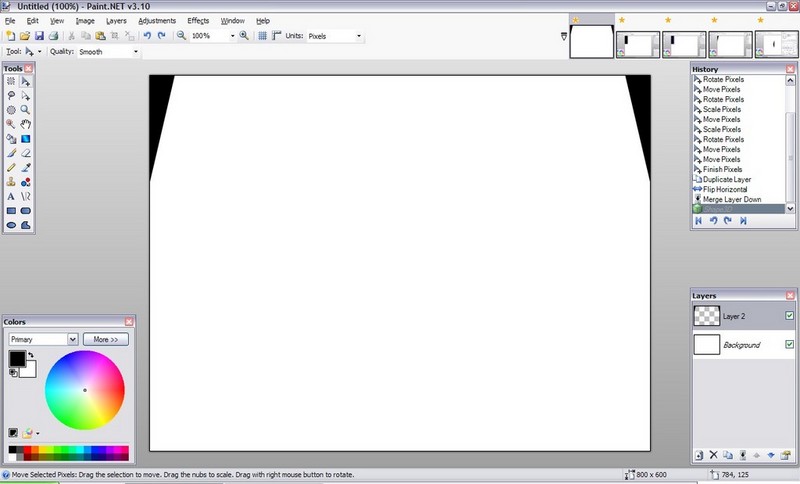
STEP 16
Change
primary colour to white and use ![]() (option in Gradient tool) as in image below.
(option in Gradient tool) as in image below.
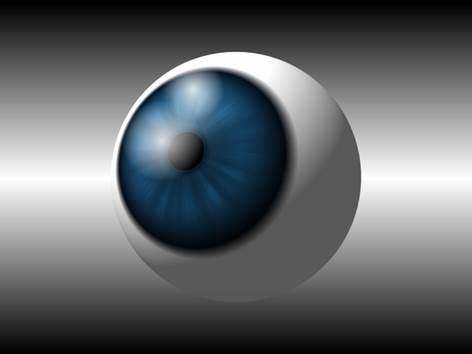
STEP 17
Flatten
image and you are done!
A FEW MORE EXAMPLES

POSSIBLE ADDITION
Very simple steps the get the Slit pupil that
everyone is asking about.
After you finished drawing the eye.
Add new
layer. Draw a triangle like
image below. (onlt need to draw on 1 side)
Then Dup
layer, goto
Layers--->Flip horizontal, then merge layer down.
You should have something like image below.
Use Shape3D (full sphere map)
And you will see the slit pupil already there, (assuming you still have the
setting from when you made the eye)
You will need to adjust the X-axis maybe
a little of the Y-axis to Fit the
pupil onto the eye.
Done
![]()
|
This
tutorial was taken from the following url: http://paintdotnet.forumer.com/viewtopic.php?f=15&t=5958&sid=07afa2dbf922d401d66cba672fd03db5 The
author’s name is unknown. The author’s
alias is Ash. |
STUDENT PROJECTS