Tutorial 20 – Rainbow Eyes
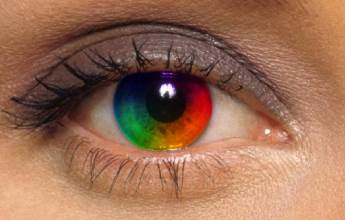
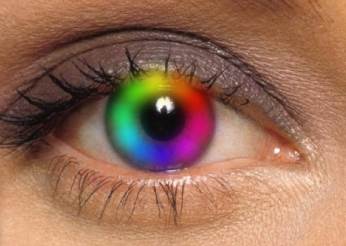
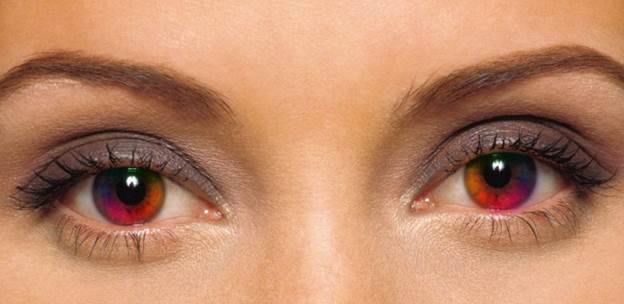
In this tutorial, you will create something like this:

STEP
1
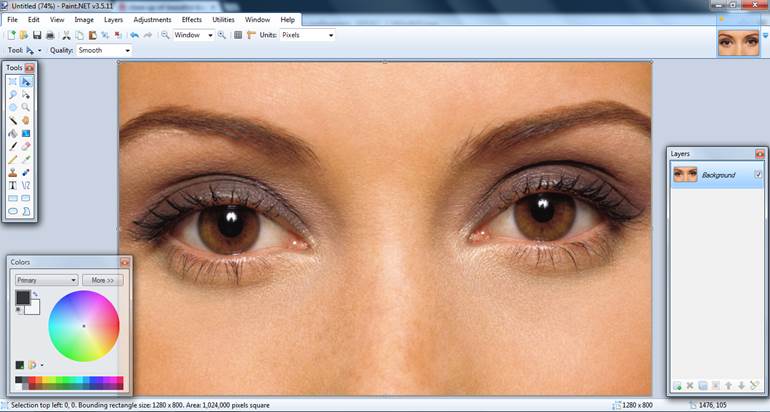
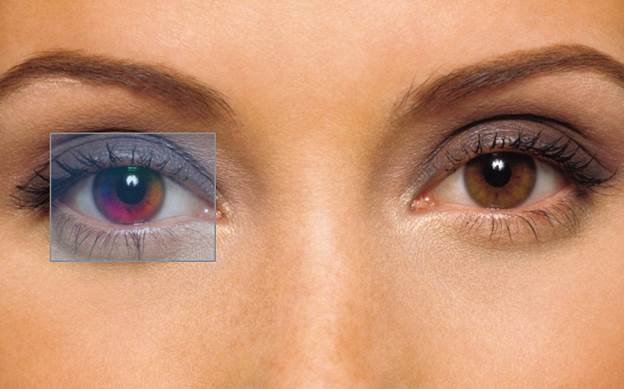
You must find an adequate photo of eyes to work
with. Make sure it is a large
photo. Bring it into Paint.NET.
STEP
2
Create a new layer.
STEP
3
Choose the Paintbrush tool.
STEP
4
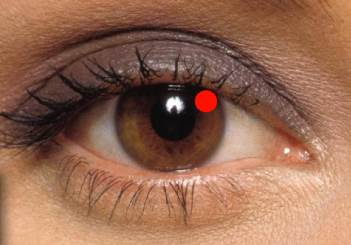
Choose one of your rainbow colours. I’ll start with red.
STEP
5
Size the paint brush tool adequately and create a circle
like below. This might require a little
trial and error.
STEP
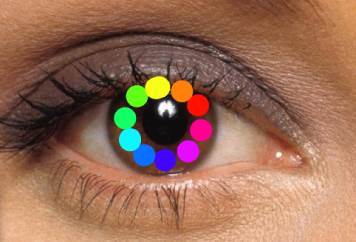
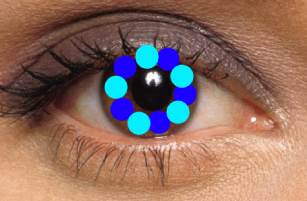
6
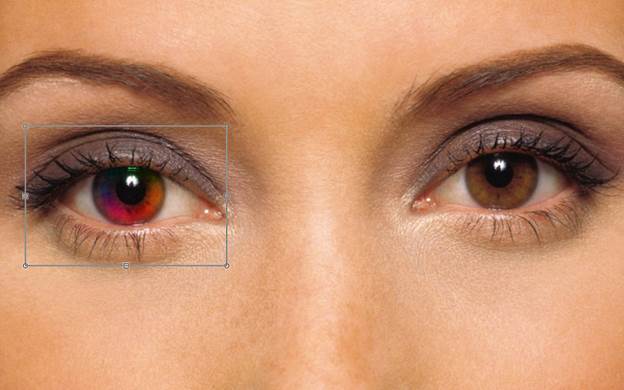
Continue placing all colours of the rainbow
around the eye like below.
OTHER
OPTIONS FOR STEP 6
Here are other approaches to create this
rainbow ring. Complete results can be
seen at the bottom.
|
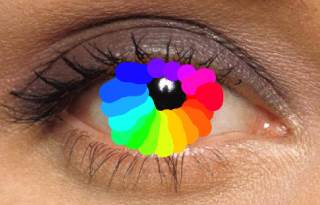
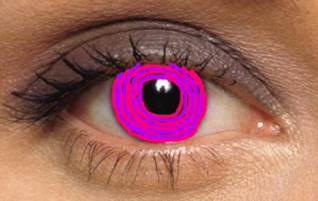
OPTION 6B
|
OPTION 6C
|
OPTION 6D
|
OPTION 6E
|

STEP
7
Apply a Gaussian Blur effect to create a
rainbow ring (Effects > Blurs > Gaussian Blurs).
You will have to decide on the radius you
want.
STEP
8
Set the blending mode for the top layer to
Overlay.
(This is done in Layers > Layer
Properties and then in the dropdown menu.)

STEP
9
We now need to remove any of the rainbow
ring that is sticking out past the eye’s circle. In our example, this is the case at the
top.
Zoom in and use the eraser to remove any
excess colour.
NOTE: If the two eyes in the photo are
different shapes, it might be wise to do steps 11 to 13 before doing steps 9
and 10.
STEP
10
You can try changing up the colours by
using Adjustments > Hue/Saturation and then playing with the Hue setting.

STEP
11
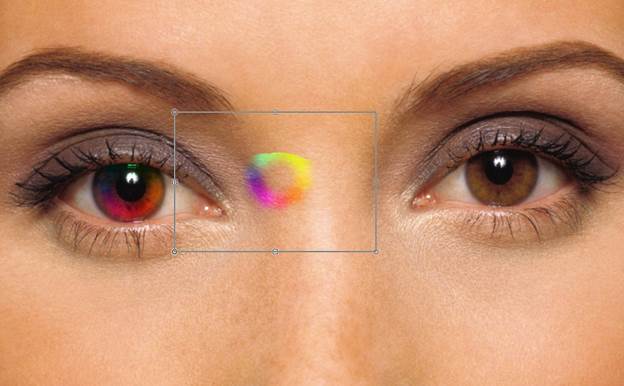
We need to copy this rainbow circle so that
we can apply it to the other eye as well.
Using the rectangular select tool, select
the rainbow circle.
STEP
12
Copy the selection (CTRL-C) and paste it
(CTRL-V).
You know this has happened as the selection
rectangle is no longer blue inside.
STEP
13
You can now drag and drop your select. Do so like below.
STEP
14
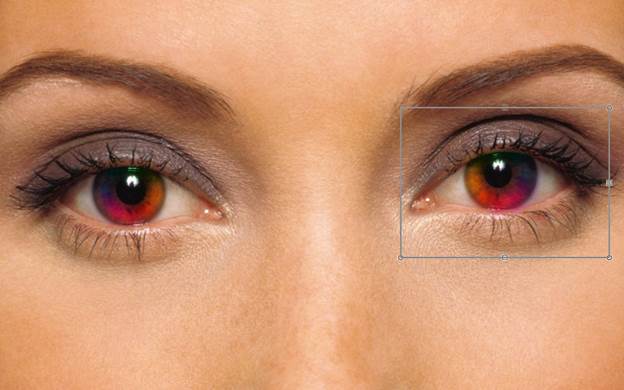
We now want to mirror this selection so
that it can be used for the other eye.
To do this, simply grab the top left anchor
of the selection and drag it to the right past the right side of the
selection. Try to size it the same as it
was before.
Then slide it over the eye and resize again
as needed.
ALL
DONE!
RESULTS
FOR OTHER OPTIONS IN 6
|
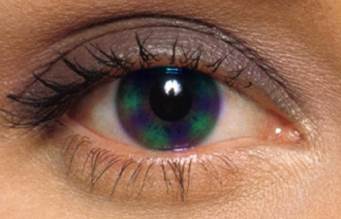
RESULT 6B
Notice
that this larger rainbow circle means that you have to precisely erase around
the eye circle. You can notice that I
didn’t do a perfect job where the orange section (bottom right) is located. Of course, you can just take your time! |
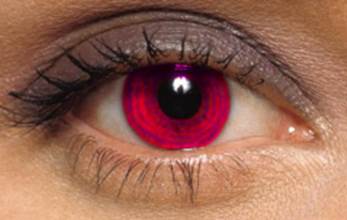
RESULT 6C
Pretty
nice result here. |
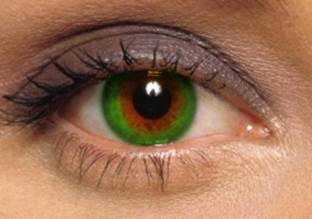
RESULT 6D
I
don’t mind the results here but again precise erasing is required. Also, I had to use a much lower blurring
amount or the stripes all merged into one colour. |
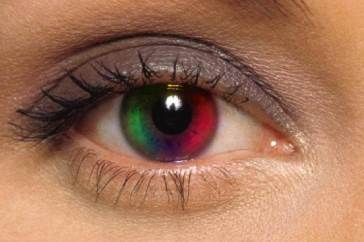
RESULT 6E
Another cool result. Perhaps a radial gradient would also be
neat here. If only I had unlimited
time! J |