Making Toy Cars
Tutorial
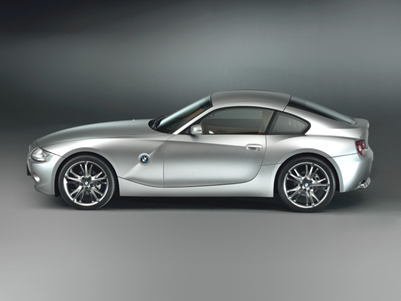
STEP 1
Start with a
picture of a car. It should be a picture
of a car taken completely side-on for best effect.
STEP 2
Start with the
Rectangle Select tool and select the front area of the car - ahead of the wheel
arch, from top to bottom of the picture. (If there is a flare on the wheel arch
select outside that as well, it'll look better). The
image below shows the selection already made.
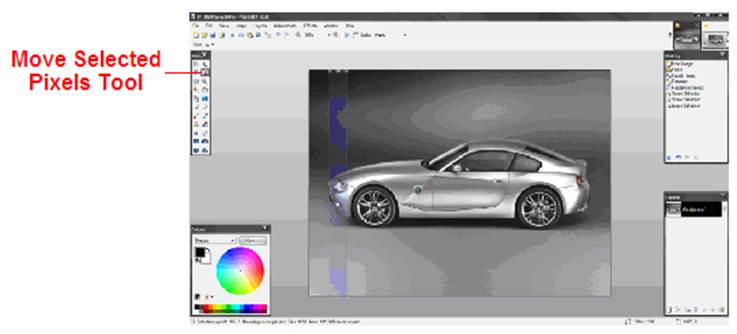
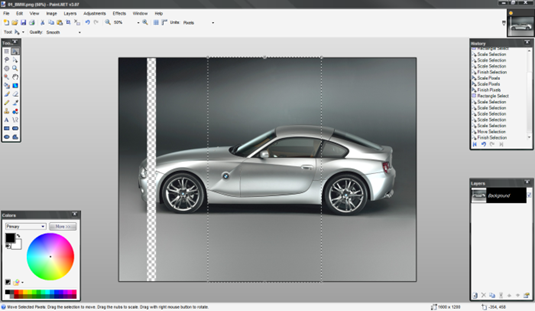
STEP 3
Chose the Move
Selected Pixels tool (see image above).
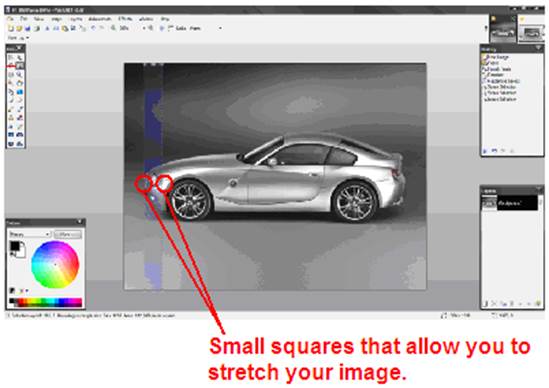
STEP 4
Find the small
side squares on your selection box. (see image below)
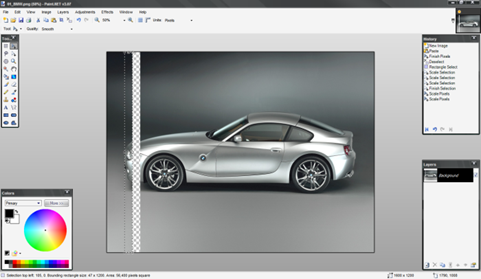
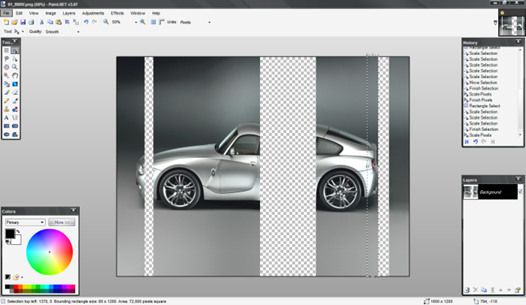
STEP 5
Click and drag one
of the squares so that the selection is now half its original width (see image
below).
STEP 6
Switch back to the
Rectangle Select tool and now select the middle area of the car, the whole area
between the front and rear wheels.
STEP 7
Again, use the
Move Selected Pixels tool to squash this selection to 50% of it's
original width.

STEP 8
Then, using Rectangle Select again, highlight the are
behind the rear wheels.

STEP 9
Once more, use the
Move Selected Pixels tool to contract this to 50% of it's original width
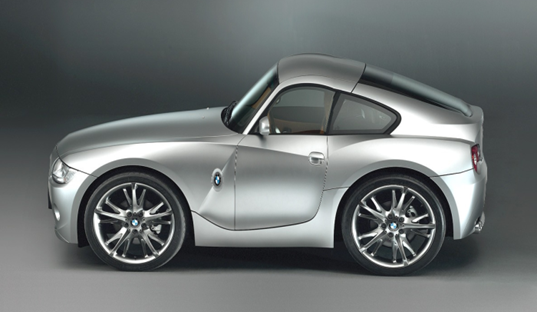
STEP 10
Now, you need to
move all the pieces back together, so that they join up neatly, and voila - you
have turned a full sized car into a toy version.
Possible Addition
The online tutorial went further suggesting that you use a
combination of the Ink Sketch and Pencil Sketch adjustments to make your car
look like a cartoon.
|
This
tutorial was taken from the following url: http://paintdotnet.forumer.com/viewtopic.php?f=15&t=4899 The
author’s name was not stated. The
author’s username was cjmcguinness. Minor
changes were made by Mr. Campeau. |