Tutorial 19 – Storm Vortex
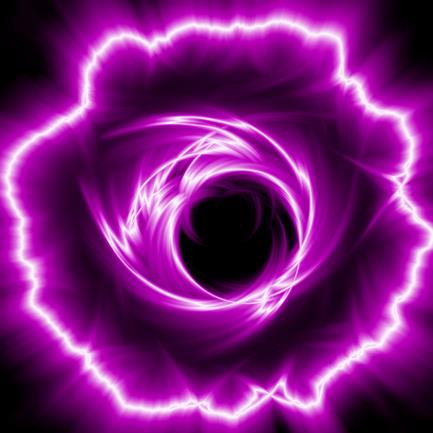
In this tutorial, you will create something like this:
STEP
00
No plugins are required for this tutorial!
STEP
01
Create a new canvas.
You can choose the size you want.
I used 600 x 600 pixels.
STEP
02
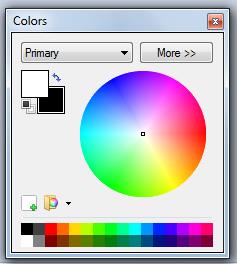
Set your primary colour to white and your
secondary colour to black. (If your
Colors panel is missing, you can open it by using Window > Colors.)
STEP
03
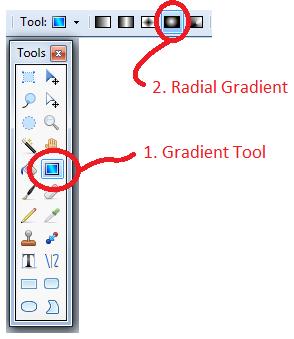
Choose the gradient tool from the toolbar
and then the radial gradient option in the option bar at the top (see image
below).
STEP 04
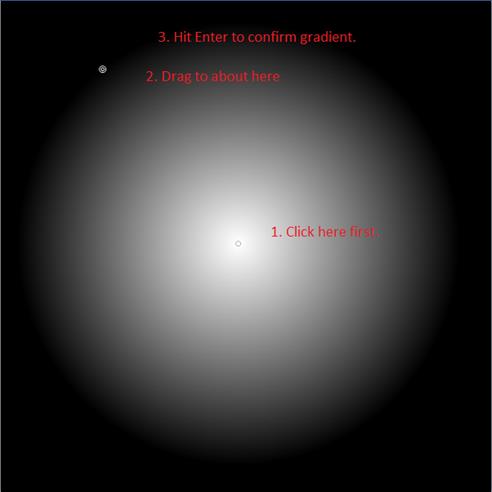
Draw a circular gradient as shown below.
The image also explains where to click to do so.
STEP
05
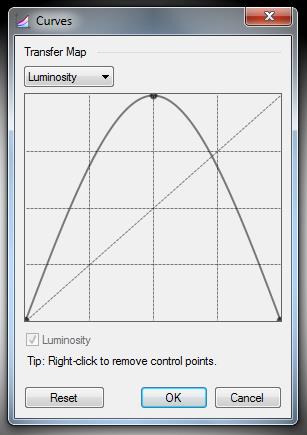
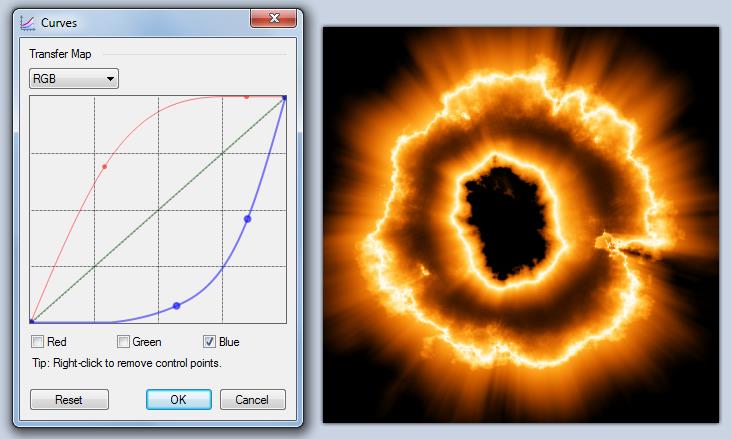
Go to Adjustments > Curves and change the curve to
look like the image below.
Hint: You have to bring the middle of the
line to the top and the right hand side of the line to the bottom.
STEP
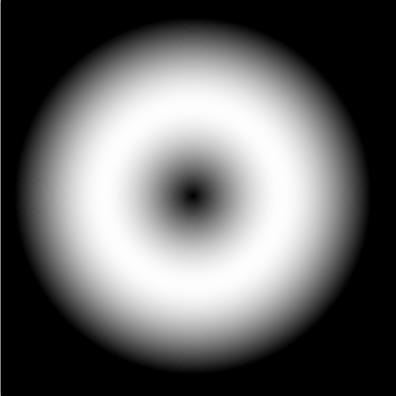
06 (CHECK)
Your image should look like this:
STEP
07
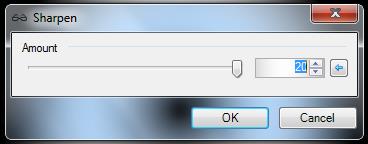
Use Effects > Photo > Sharpen to
sharpen the image.
Use an Amount of 20.
Note that nothing will visibly change.
STEP
08
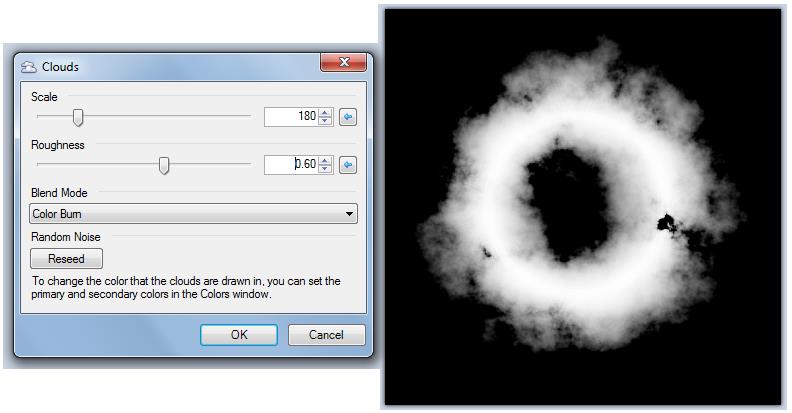
Use Effects > Render > Clouds with settings similar as below. The result is on the right.
STEP
09
If your Layers panel is not visible, open
it by using Window > Layers.
STEP
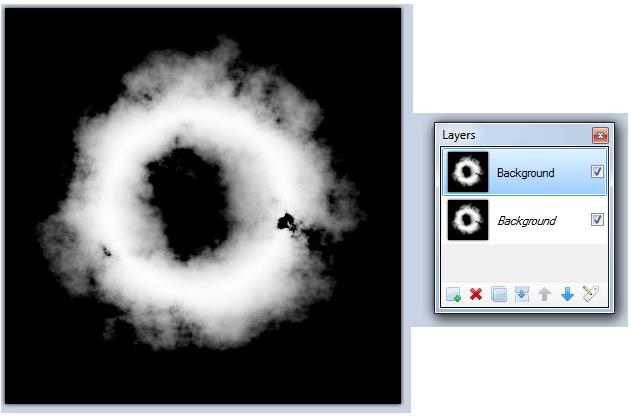
10
Use Layers > Duplicate Layers.
You should now see two layers in the Layers
panel (as shown below).
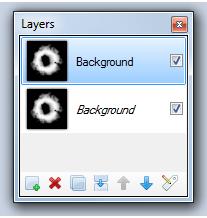
STEP
11
Make sure the top layer is selected. (It should be blue like below.)
STEP
12
Apply Effects > Blurs > Zoom Blur
with specs similar to below.

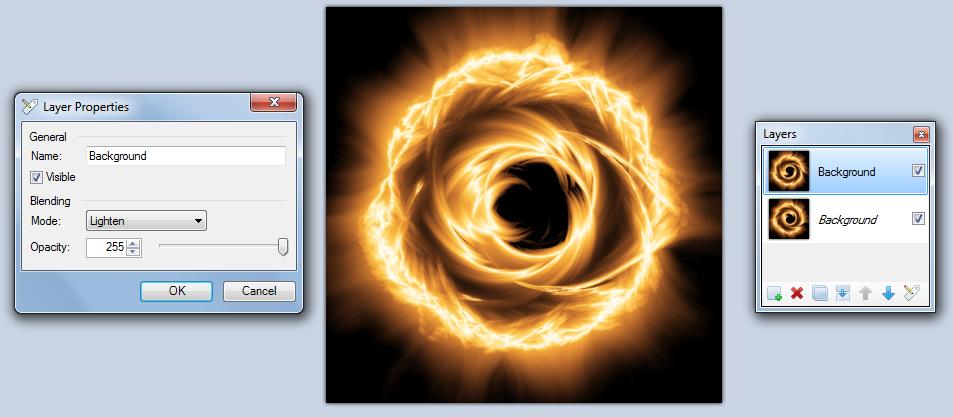
STEP
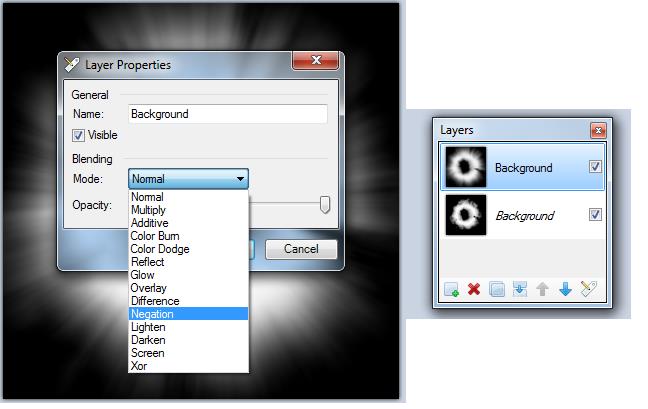
13
Set the top layer’s Blending mode to
Negation. To do this, simply double
click on the top layer (in the Layers panel) and set the blending mode in the
Layer Properties window. See the image
below.
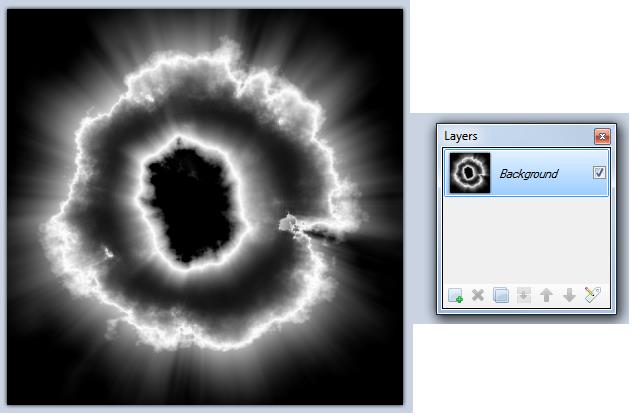
STEP
14
Use Layer > Merge Layer Down.
STEP
15
Use Adjustment > Curves. Choose RGB in the drop down menu. Play with the lines to get a color that you
like. I chose orange.
STEP
16
Use Layer > Duplicate Layer. You should now have two layers in the Layer
panel.
STEP
17
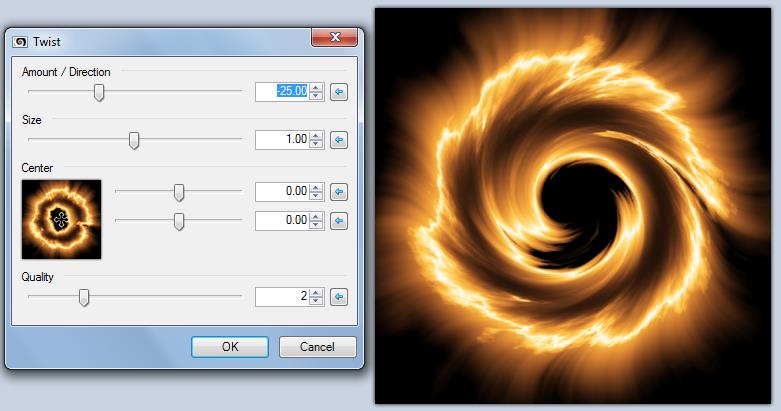
On the top layer, use the Twist effect with
the following specs:
STEP
18
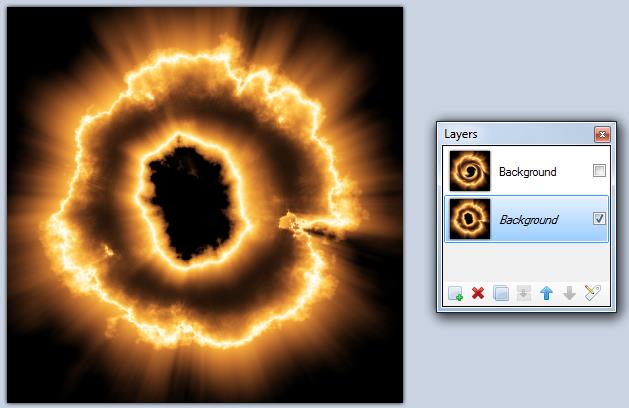
In the Layers panel, uncheck the top layer
so that it is invisible. Click on the
bottom layer.
STEP
19
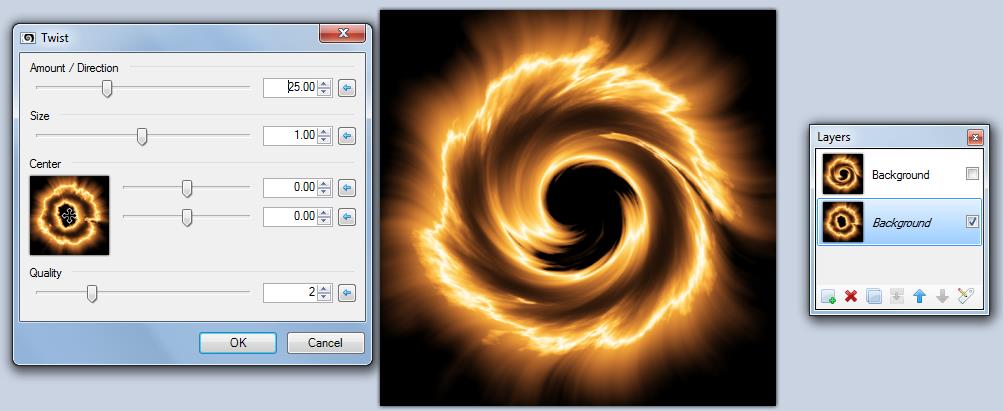
Use the Twist effect again this time on the
bottom layer. Notice that the Amount is
positive instead of negative. This means
that the twist will be in the opposite direction.
STEP
20 (OPTIONAL)
You can use Adjustments > Curves to
change the colours on the bottom layer.
These colours will merge with the colours of the top layer.
STEP
21
Check the top layer to make it visible
again.
STEP
22
Double click on the top layer to open its
Properties. For blending mode, chose
Lighten.
STEP
23
Use Layers > Merge Layers Down to have
only one layer.
ALL DONE!
EXAMPLES
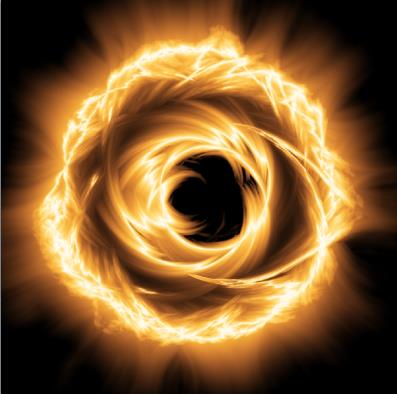
This example did not us Step 20.
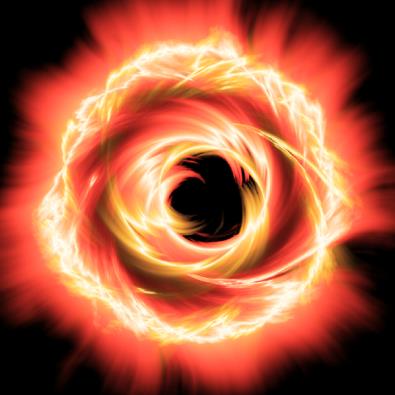
This example made use of Step 20.
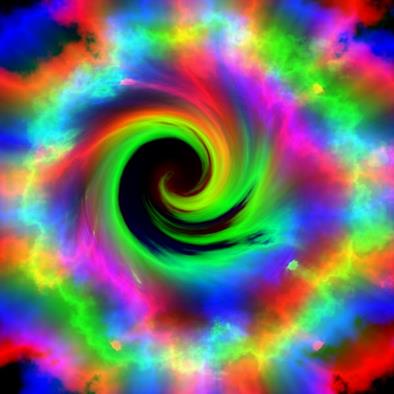
Here’s
an example done by a person on the forums.
Extra experimenting was done to get this.
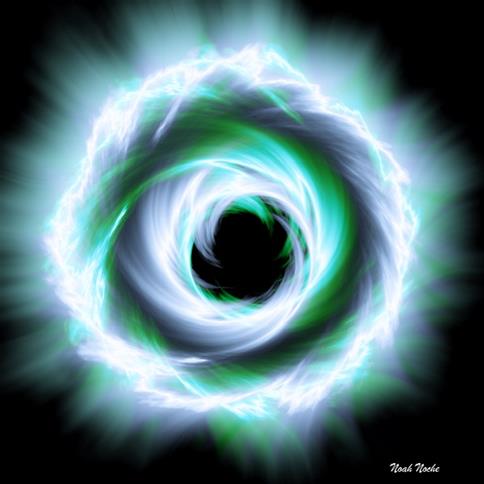
A
cool result done by Noah (2014).
Source: http://forums.getpaint.net/index.php?/topic/18399-storm-vortex-tutorial/