Tutorial 18 – Fire Wall
Found, tested and submitted
by Rudi Smith (2013)
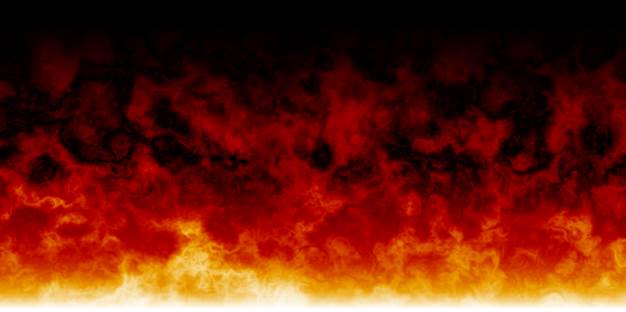
In this tutorial, you will create something like this:
STEP
01
Create a new canvas of size 1000 x 500. (File > New)
STEP
02
Draw a gradient as shown below. Note that if you keep SHIFT press, you can
maintain a straight gradient.

STEP
03
Make a new layer. (Layers > Add New
Layer)
STEP
04
Double-click Layer 2 (the layer you just
created) to edit its properties.
STEP
05
Set the Blending Mode to 'Overlay', then hit OK.

STEP 06
Go to the 'Effects' menu and choose 'Clouds'. Change the blending mode on the
Clouds window to 'Difference' (see image), then hit OK.
STEP
07
Repeat the Clouds effect about a dozen times.
You can do this by hitting CTRL-F or by using Effects > Repeat
Clouds.
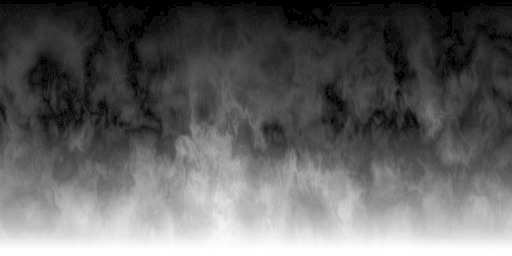
Your image should look like the image
below. Note that Mr. Campeau tried this
several times and one of the times, the results did not resemble flames, so it
had to be redone.
STEP
08
Flatten the image. This will reduce the
image down to one layer. (Image >
Flatten)
STEP
09
Choose Adjustments > Curves
STEP
10
In the
drop down menu near the top, choose 'RGB'.
See image below.
STEP
11
Uncheck the 'Red' and 'Green' checkboxes so
you're only modifying the blue channel, add a control point as shown below.
Do the same for the green channel so you
have the curves shown below.

Your final result should look like this:
POSSIBLE TWEAKS
Try using a different shape of gradiant such as a Round Gradient.
Tweak the Curves. The general shape of them should probably be
preserved to keep good saturation, but the channels don't need to go in the
above order. Try Green, Red, Blue (instead of Red, Green, Blue) for a copper
flame (copper burns green).
Play with the 'scale' setting of Clouds for finer or Coarser
clouds.
Play with the Roughness setting for clouds for softer or sharper fire
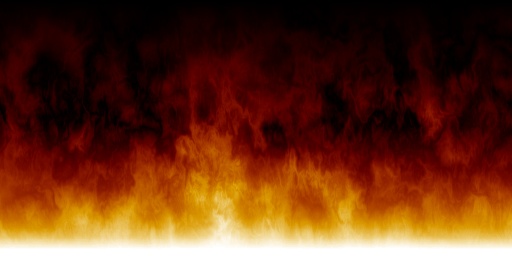
EXAMPLE
PRODUCTS

By Mr. Campeau (2013)