Tutorial 17B – Customized Fractal Background
Based on Tutorial 17 by Lucas Burns (2012). Customized by Mr. Campeau.
Note: You cannot do both
Tutorial 17 and Tutorial 17B for marks.
Only one will count.
STEP 1
Figure out the size of your desktop resolution. This can usually be done by right clicking on
your desktop and choosing one of the options.
The resolution for my laptop’s desktop is 1366 x 768. If you aren’t sure, ask your awesome teacher.
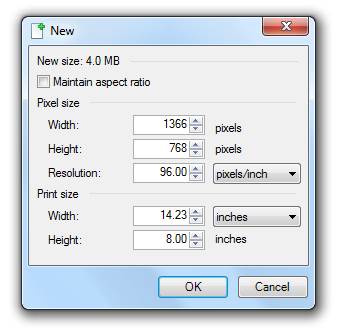
STEP 2
In Paint.net, choose File > New.
STEP 3
Set the Width and Height of the new image to
be the same as your desktop’s resolution. See below.
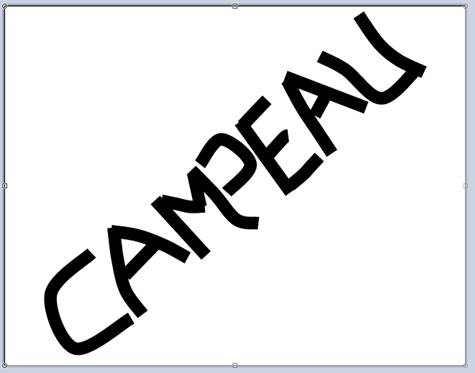
STEP 4
(OPTION)
Use the line tool to creatively write your
name (or any word). Fill the canvas with
the word. It can be written at an angle
if you wish.
OPTION: If you want more colour in the end, you might want to make each letter a
different colour now.
Note that all colours will be inverted so you
won’t end with the same colours as you are painting
now.
STEP 5
We need to mirror our text. Choose Image > Flip Horizontally.
This needs to be done because in the next
step, the effect that we use will re-mirror our text.

STEP 6
Hit CTRL-D to deselect your selection.
STEP 7
Choose Effect > Distort > Polar
Inversion. Set the Amount and Quality to
max (see below).
OPTION: Set Edge Behavior either to Reflect or to Wrap, whichever you like best.
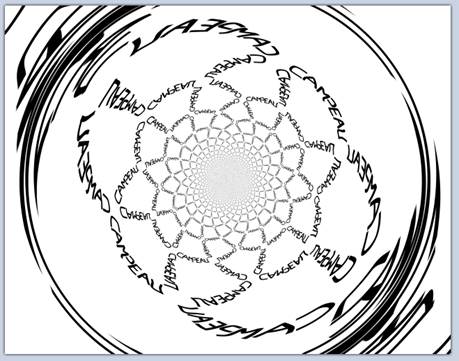
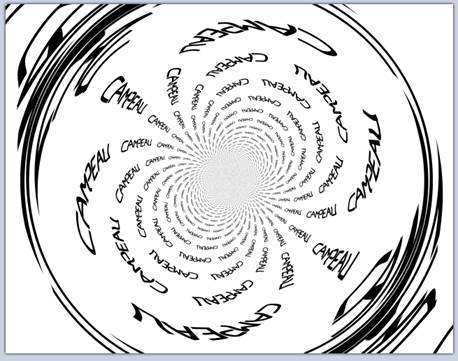
|
Option 1 - Reflect |
Option 2 - Wrap Note: See how “Campeau” is upside down in
much of this image. It would probably
be best to return before this effect, flip the text vertically (Image >
Flip Vertically), and then reapply this step. |
STEP 8
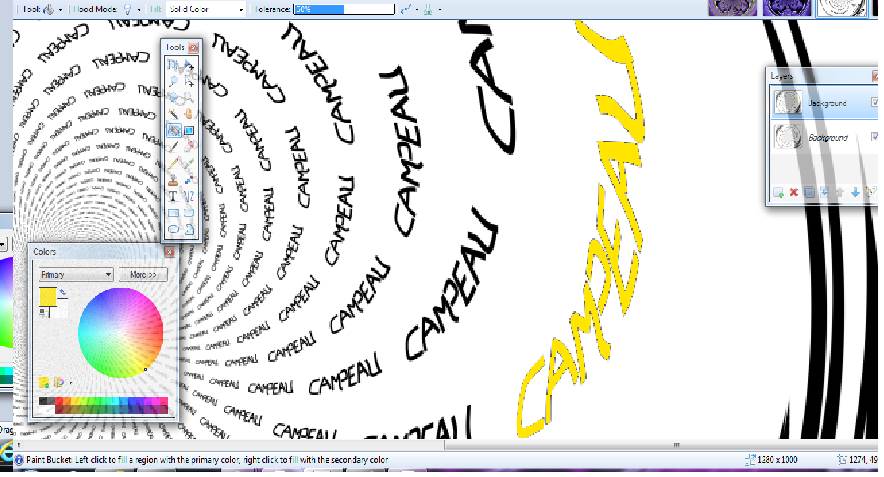
(OPTIONAL)
You can make one of the copies of the word
stick out by changing its colour. This is probably most effective if you have
left things black and white so far.
We will be applying an effect that will
invert all colours.
So I will paint with yellow in order to get blue (as blue is what you get when you invert
yellow). Use trial and error to see what
colour you should paint with.
To paint simply use the Paint Bucket on each
letter. Zooming in is probably a good
idea. See image below.
Note: It would be best to remove ALL black
around the letters. This is not done in
the image below.
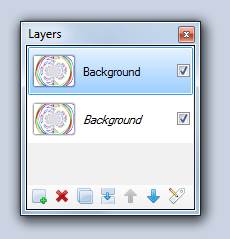
STEP 9
Duplicate the layer (Layers > Duplicate
Layer).
So you should see this in the Layers
panel. (If you need to see the Layers
panel, go to Windows > Layers.)
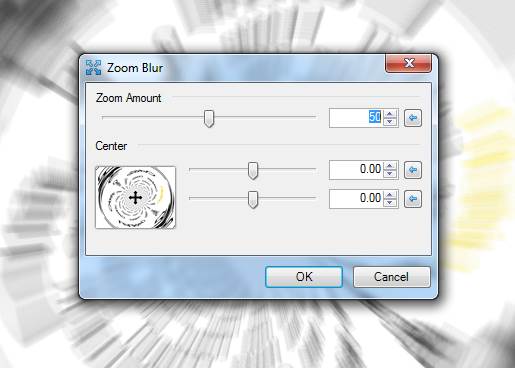
STEP 10
With the top layer selected, choose Effects
> Blurs > Zoom Blur. The Zoom
Amount should be about 50.
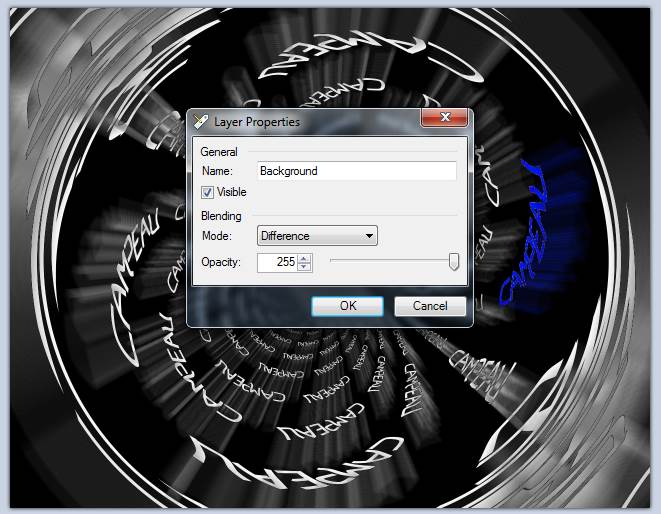
STEP 8
In the Layers panel double click on the first
layer. Set the Blending Mode (see below)
to Difference.
STEP 9
Choose Layers > Merge Layer Down.
STEP 10
Choose Adjustments > Curves. In the drop down menu, choose RGB. Play with the curves till you like what you
see.
STEP 11
You’re done.
Add your name and save your file as a PNG. You can make this image your background if
you wish.
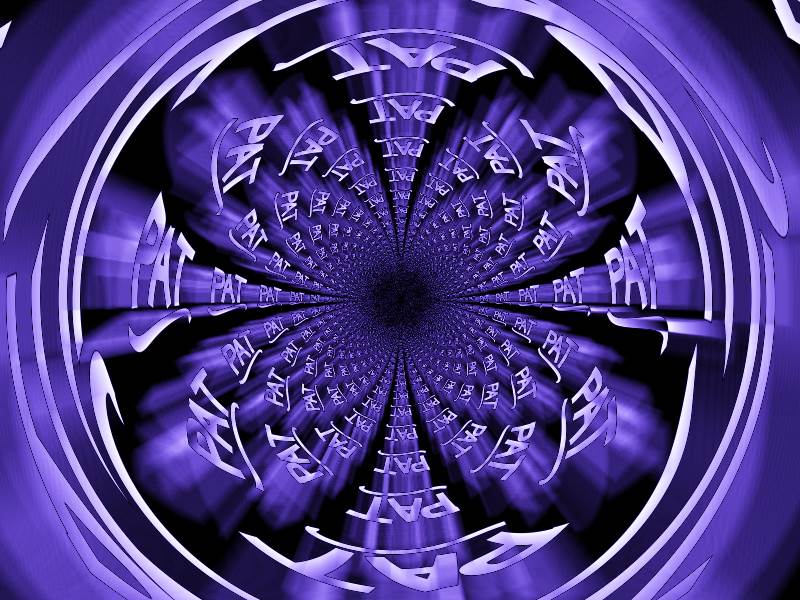
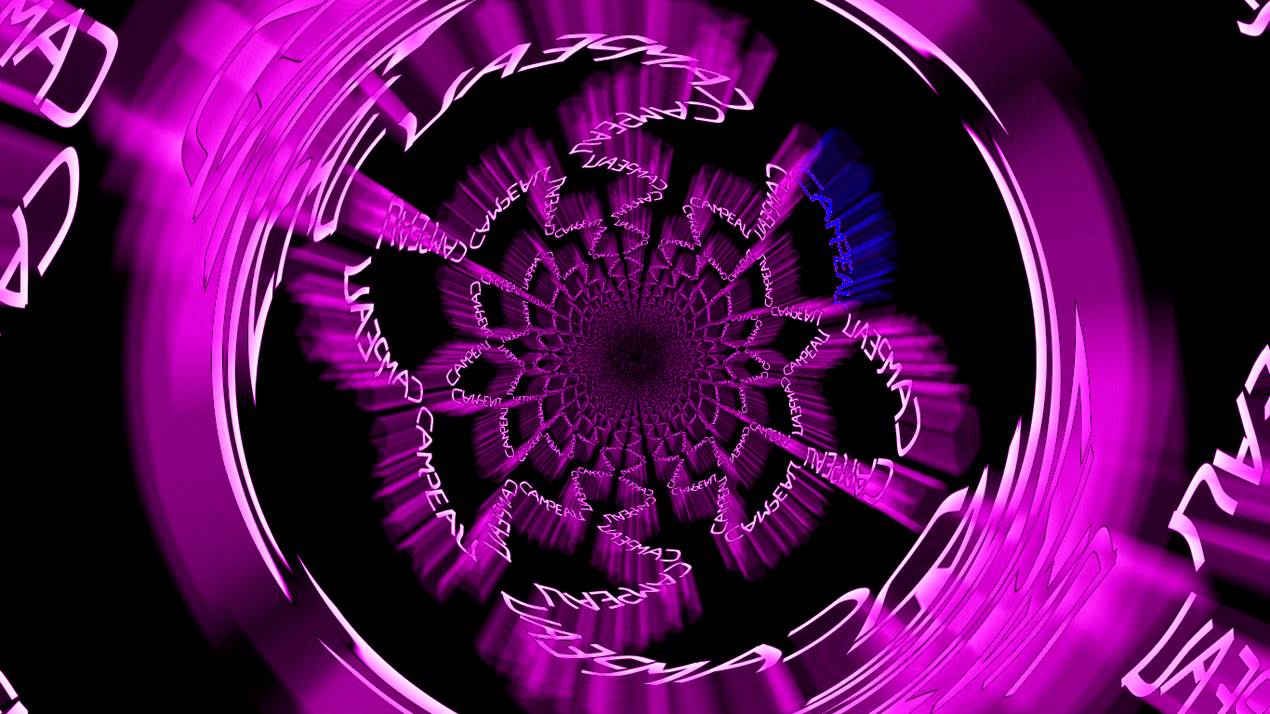
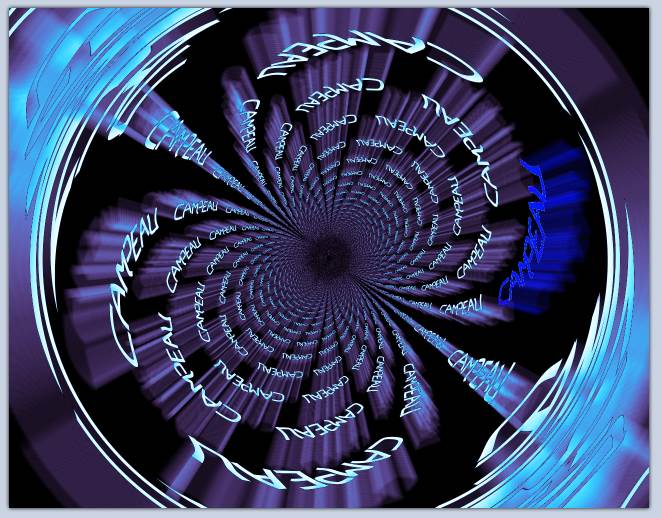
A few examples…