Tutorial 16 – Galaxy
Found, tested and submitted
by Ben Cavallin (2011)
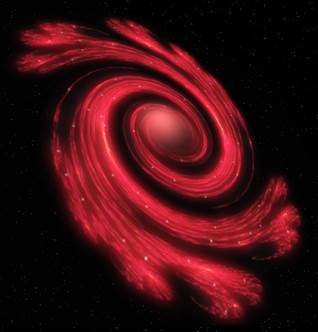
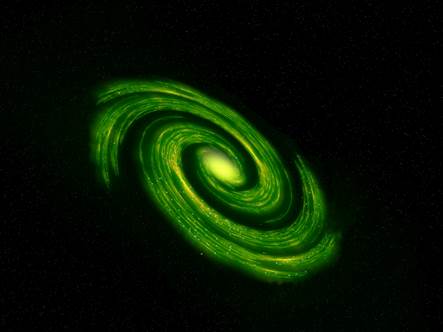
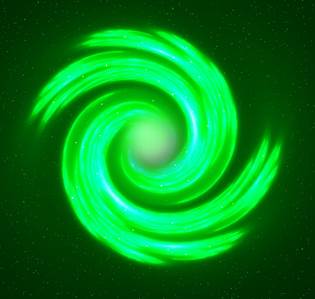
In this tutorial, you will create something like this:
STEP
00
Make sure you have the Shape3D effect/plug-in. (Lab 101 machines have it already.)
STEP
01
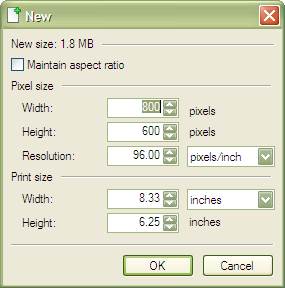
Create a new canvas of size 800 x 600. (File > New)
STEP 02
Using the Paint Bucket tool, fill your canvas with black.
STEP
03
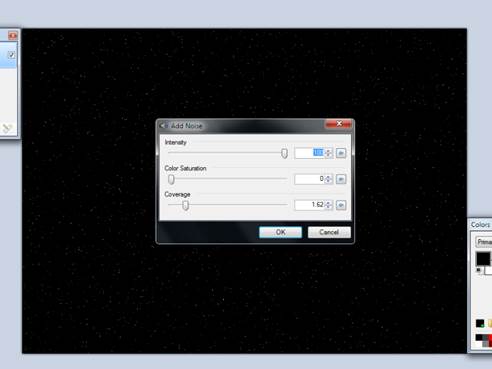
To make stars, use Effects > Noise > Add Noise with
- Intensity =
100
- Color
Saturation = 0
- Coverage = 1.6
(about)
Of course, you can change things up if you prefer a
different setting.
STEP
04
Add a new layer.
Name it “Galaxy”.
STEP
05
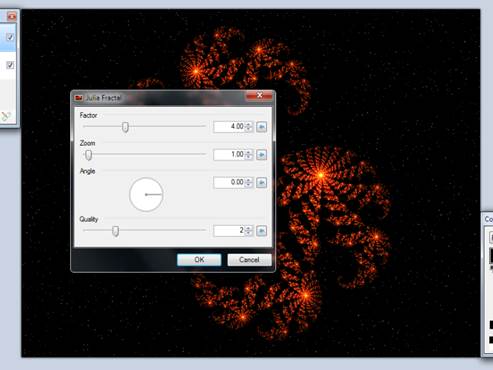
Use Effects > Render > Julia Fractal (settings
below)
STEP
06
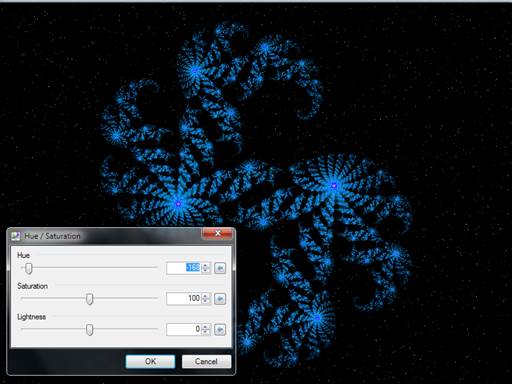
Play with both of the following options to change the
colour to what you desire:
- Adjustments
> Colour Balance
- Adjustments
> Hue / Saturation
STEP
07
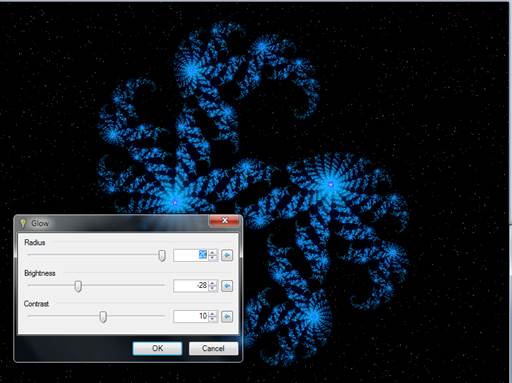
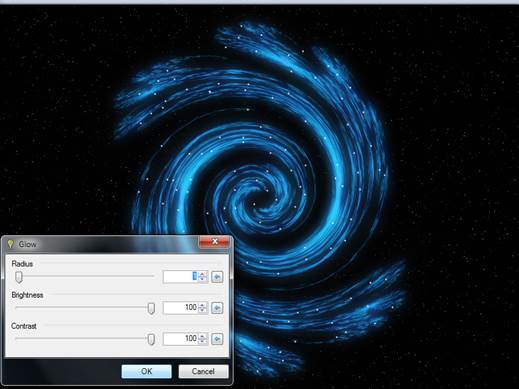
Use Effects > Photo > Glow to make your galaxy glow as you wish.
STEP
08
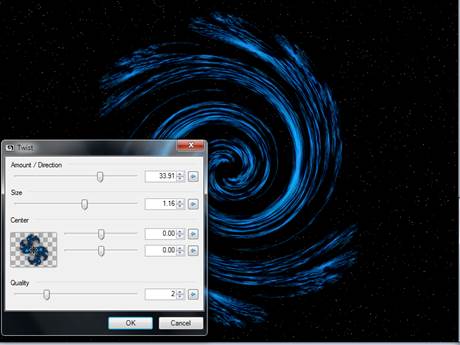
Use Effects > Distort > Twist with similar settings as below.
STEP
09
Use Effects > Photo > Glow again to add more glow. (This will be the light every galaxy emits.)

STEP
10
Make a new layer and call it “Stars”.
STEP
11 – LONG STEP
Now this step is tedious, but it makes your galaxy look real (enough that is).
Using the paint brush (size 2 and color white), add dots on your galaxy
"arms" (the "bright stars"
of the galaxy)
Mr. Campeau Note: You are also encouraged to also make
some dots with the brush at size 1. In
fact, I even added a few dots at size 3.

STEP
12
Apply a Glow on the stars. (Effects > Photo > Glow). Settings below.
STEP
13
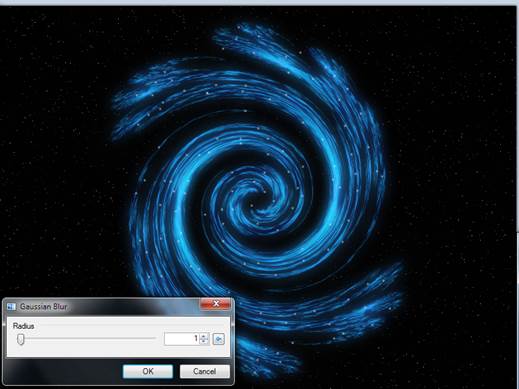
Blur the stars. Effects > Blurs >
Gaussian (Radius of 1)
STEP
14
We want to merge the stars with the galaxy. So, we choose Layers > Merge Layer Down.
STEP
15
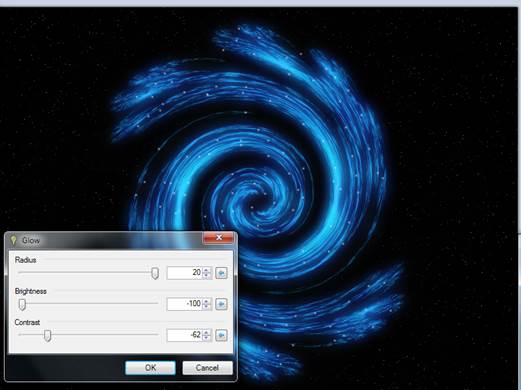
Apply yet another Glow effect (settings below)
STEP
16
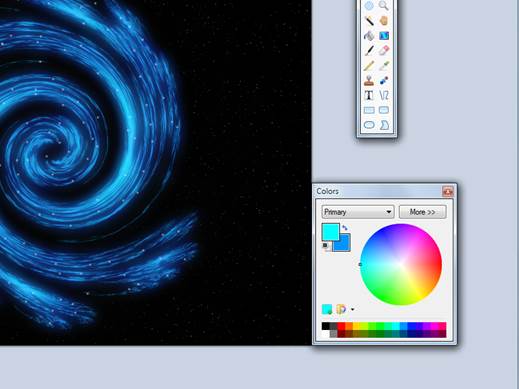
Choose two colours such that:
- The secondary
colour is the same as the colour of your galaxy.
- The primary
colour is a lighter shade of the same colour.
STEP
17
Add a new layer.
Call it “Core”.
STEP
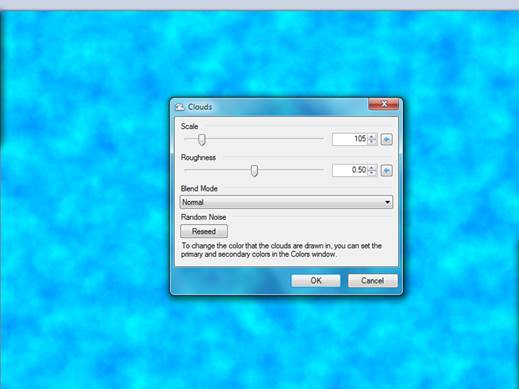
18
Use Effects > Render > Clouds (Settings below)
STEP
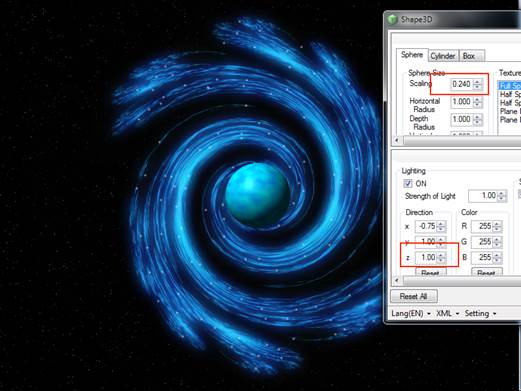
19
Use Effects > Render > Shapes3D with the setting
below:
STEP
20
To blue the core (get rid of the sphere look), we use
Effects > Blurs > Gaussian Blur with a radius between 15 and 30. (You choose.)
STEP
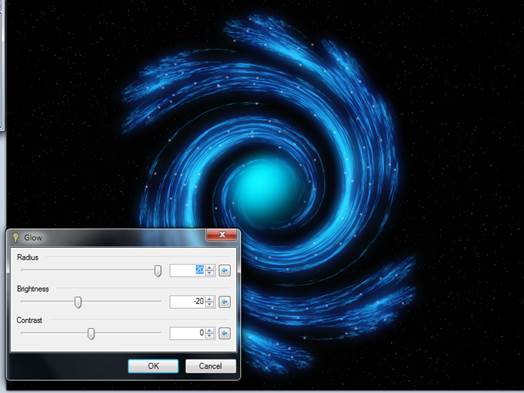
21
Finally, put a glow on the core. Effects > Photo > Glow (settings
below).
STEP
22
Merge the core and galaxy layers together. (Use Layers > Merge Layer Down.)
STEP
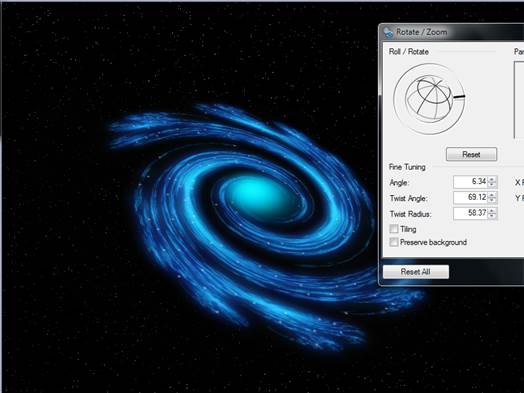
23
With the galaxy layer selected, use Layers ->
Rotate/Zoom and rotate it to how you want it:
DONE!
SOURCE:
http://forums.getpaint.net/index.php?/topic/20968-making-a-galaxy/
AUTHOR:
Celestrial (Alias)
Mr.
Campeau’s attempt:
Ben
Cavallin’s attempt (better than mine)