Tutorial 12 – Popping Out of a Picture
Found on the internet by
Justin Soulliere (2007)
Major edits made by Mr.
Campeau (2012)
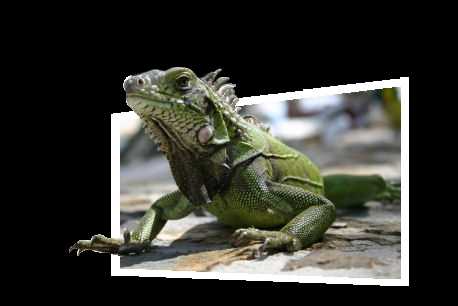
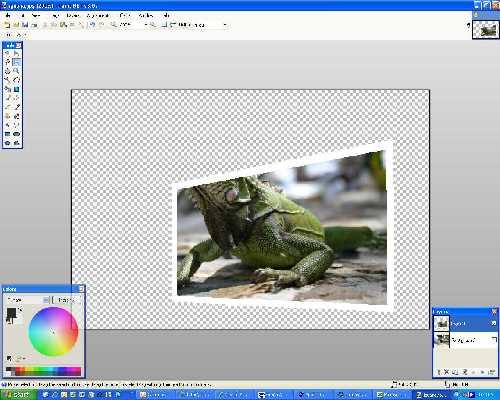
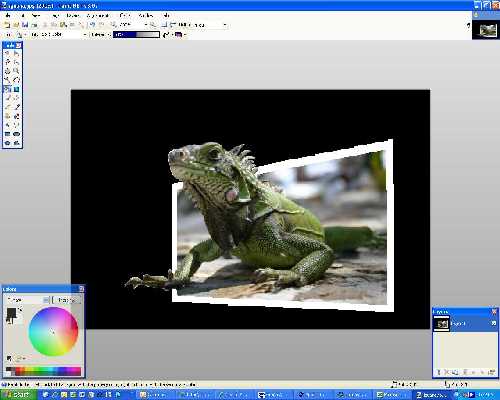
This tutorial will make an aspect of a photo seem like it is popping out of a
frame. It will look like this:
STEP
1
Find a picture where it will look
natural for something to be coming out of the picture - in this case I am using
this picture of an iguana!
STEP
2
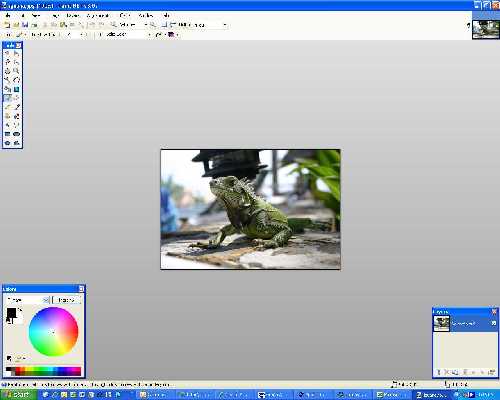
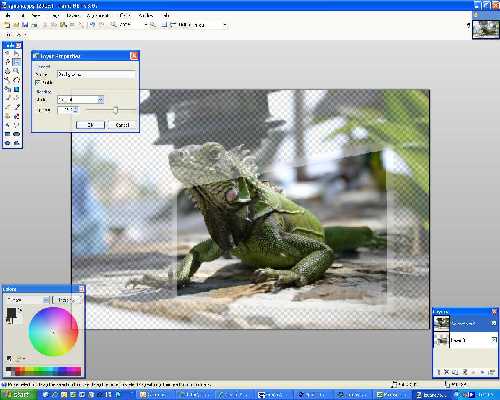
Duplicate the layer so you have two layers that are the picture.
STEP
3
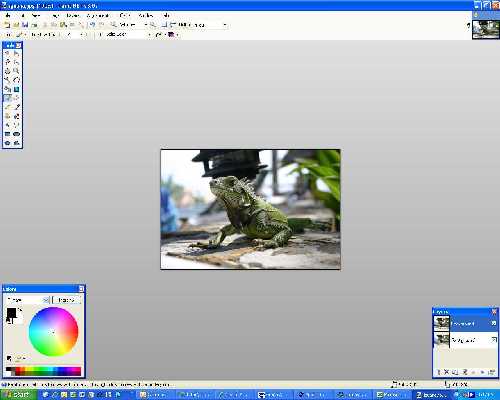
Create a new layer. Double click on the layer name to rename
it. Call it “Temporary”.
STEP
4
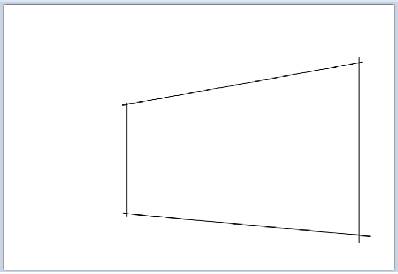
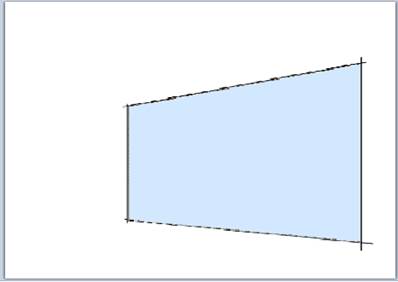
On the temporary layer, draw
lines such as shown below.
Note: The layers with the Iguana
were made invisible for this so that you can better see what was done.
STEP
5
Use the magic wand to select
inside your shape.
STEP
6
Create a new layer. Call it “Shape”.
STEP
7
You should now be on the new
layer with the selection of your shape.
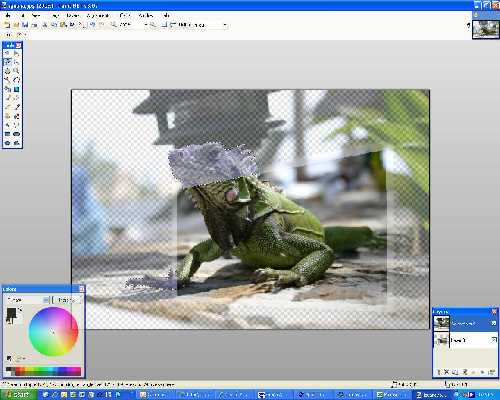
Using the Paint Bucket tool, fill your selection with Black.
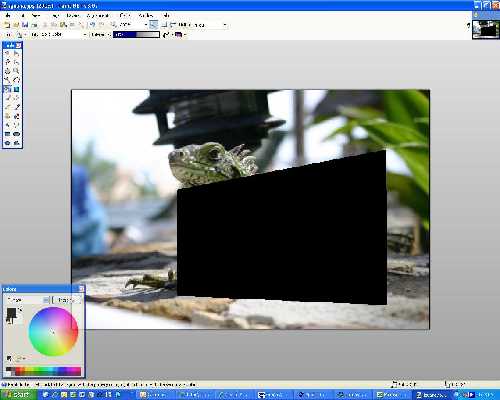
STEP
8
Delete the layer called
“Temporary” that contains the lines.
Note: The view below shows the
shape along with the iguana layers made visible.
STEP
9
If the shape is not in the exact
location that you want, you can move it at this point.
Here are the steps to do so:
-Hit CTRL-D to get rid of any
selection,
-Click on the Shape layer,
-Use the blue arrow tool (Move
Selected Pixels) to drag and drop the shape to a new location
STEP 10
CONTINUE WITH THE ORIGINAL TUTORIAL HERE…
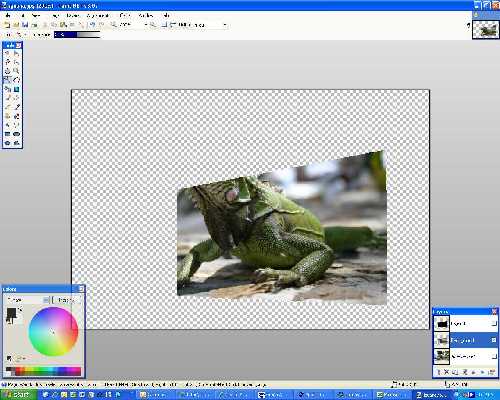
Select the black box and then select the second picture layer. Invert the
selection and hit delete so all that remains is the picture that is in the
shape of the box.
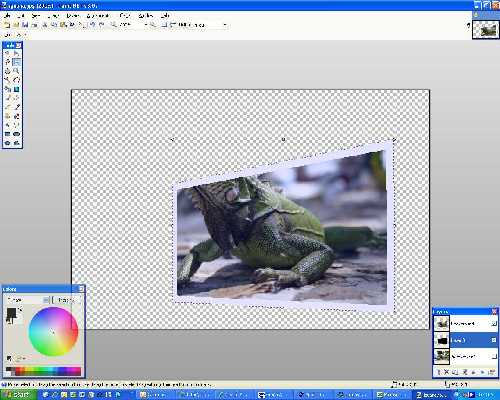
Move this layer above the black box layer. Then select the black box layer and
use the magic wand to select the box. You can then use the "move
selection" tool to elongate the box so that it creates a white frame
around the picture.
Once this is done you can then merge these two layers together so you should
now have a layer that has the whole picture on it and one that has a framed out
chunk of the picture.
Move the whole picture layer on top of the framed picture layer and then hit F4
and change the opacity to 150. This will allow you to see the framed picture underneath
the whole picture to use as a guide.
Then use the lasso tool to select the parts that are out of the picture, making
sure that you are going all the way to the picture so that none of the white
line shows. You can hold down CTRL and select more than one area - on this I
selected the head and the foot.
Once you have the sections selected, invert the selection and delete everything
else in teh top layer. Then go in and change the
opacity of the layer back to 255.
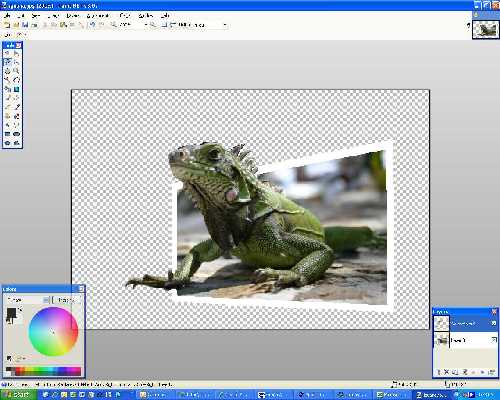
On mine I then flattened out the image and changed the background to black so
you could see the white border of the picture better.
And again, here is the finished product.
Best of luck
|
This
tutorial was taken from the following url: http://paintdotnet.forumer.com/viewtopic.php?f=15&t=5087 The
author’s name is unknown. The author’s
alias is spongey437. |
CREATIONS BY STUDENTS

Keegan Pitre – 2009
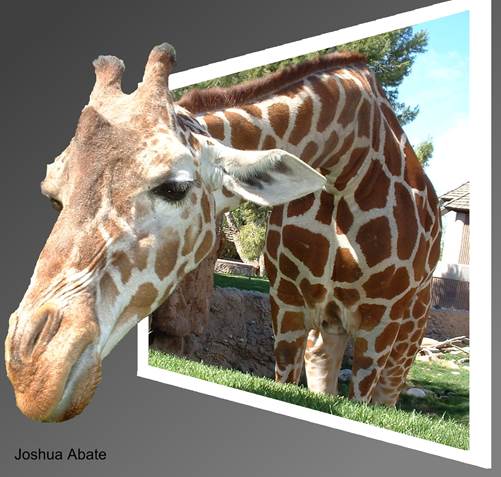
Joshua
Abate - 2009