|
MICROBIT PROJECT
INPUT BUTTONS

DESCRIPTION
Students will learn how to use input buttons to control the output of a
program.
STEPS
STEP 1
Connect your Microbit to your device (laptop) and
go to the coding site: https://makecode.microbit.org/
STEP 2
Click on New Project and name the
project Input Buttons.
STEP 3
Instead of using the on start
block or the forever block, we
will use blocks that run when buttons are clicked. From under the Input menu heading, drag in
the on button A pressed block three times.
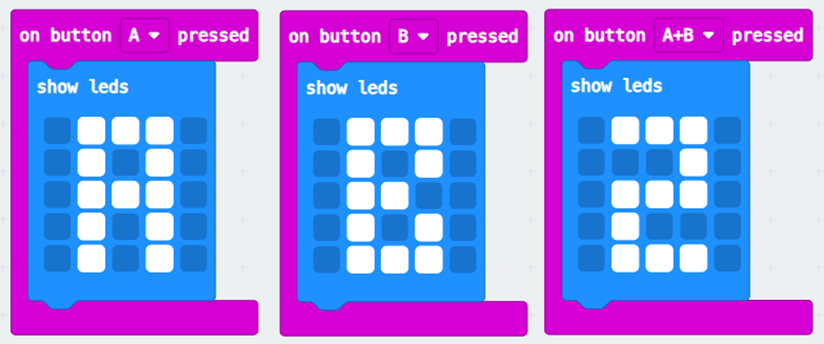
STEP 4
Change the blocks so the buttons pressed are A, B and A+B like below.

STEP 5
Add a show leds
block inside each of the three on button blocks. Make each show leds block display a different
image.
STEP 6
Download and run your program. Try
pressing the buttons A and B (and both together).
EXTRA
1. Does program respond as soon as the button is pressed down or when the
button is released? Try it out if you
are not sure.
|