|
By Alex K. 1.
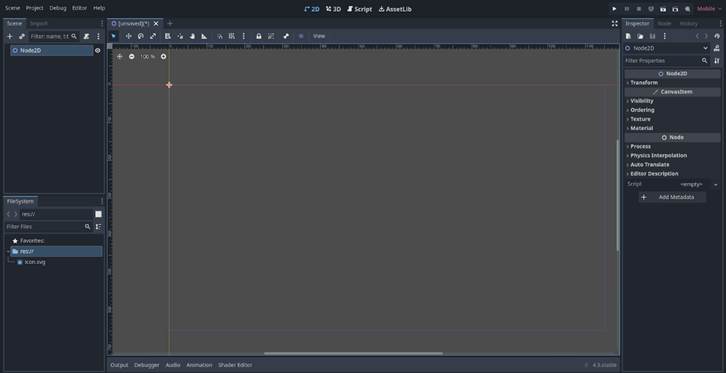
Create a new Godot project. 2.
Start by exploring the different views at the very top (2D, 3D,
Scripts & AssetLibrary). 3. On the left, click on
2D Scene. Your screen should look like
this:
4.
Other than the central area of the screen, there are three
sections that you need to pay attention to: ·
Scene
Tree (on the left) ·
File
Loader (at the bottom left) ·
Inspector
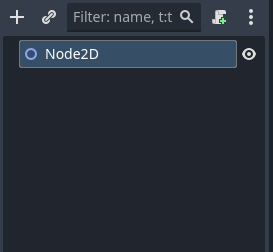
(on the right) 5. The Scene Tree (see below) is where you see the nodes in the
scene. Right now, there is only one
node that is called the root node.
6.
The File Loader
(see below) stores any images, code and other files that will be used in your
project.
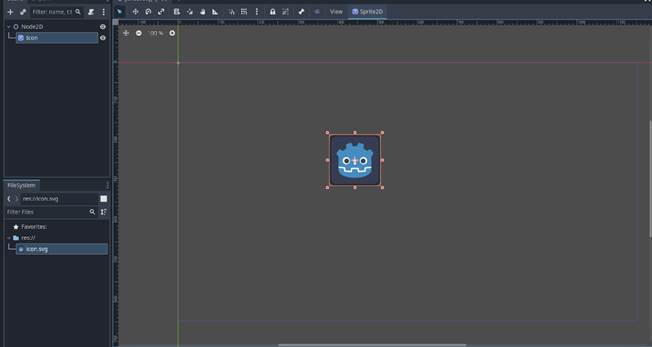
7.
Let’s use the image icon.svg in this
demo. Drag it into the center of the
screen.
8.
Find the Inspector on
the right of the screen. Notice that
it gives information about the item that you currently have selected.
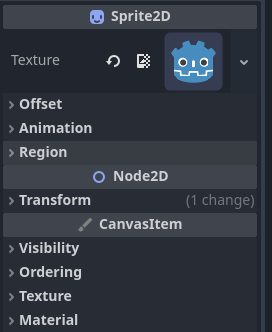
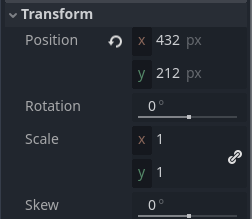
9.
Still in the Inspector, and with your image selected, open up
the Transform section (see below).
10. Try playing around with the values a bit. Here are a few
questions for you to solve: ·
If
I increase x, which way will the image move? ·
If
I decrease x, which way will the image move? ·
If
I increase/decrease y, which way will the image move? ·
If
I set skew to 45 degrees, how would the object change? ·
How
would I double the size of the image?
How would I halve it? ·
What
does the little chain icon beside Scale do?
Can you see a reason to turn it off? 11. Now that you are done
solving the questions, press the Recycle image beside all the values. Notice what happens. 12. You’re almost ready to
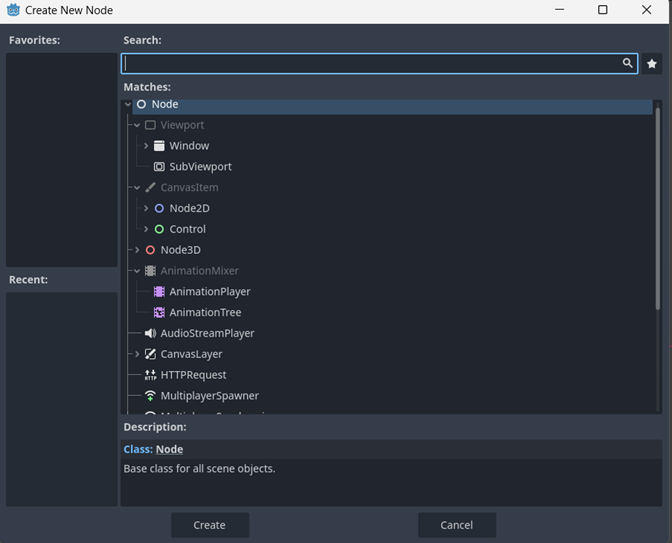
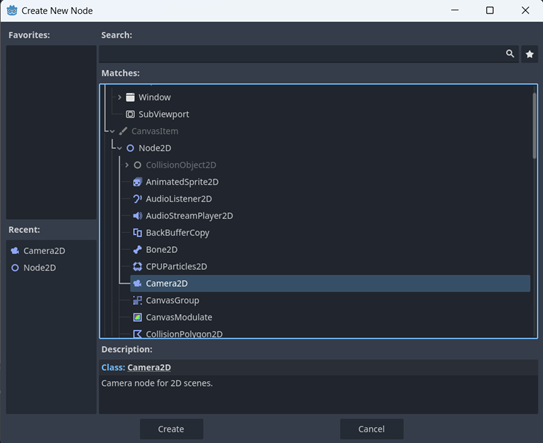
press play. But we need a camera first.
13. Select Node2D >
Camera2D (see image) and click on Create.
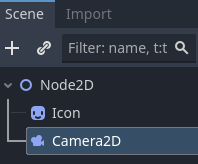
14. Notice how you have a
Camera that appears on the Scene Tree.
15. You can now run your
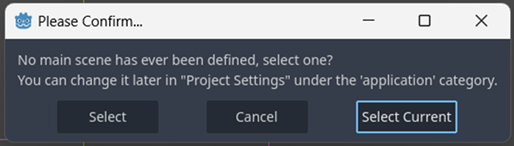
game by pressing Play (triangle above the inspector). 16. A pop-up will ask about a missing scene. Simply click on Select Current and name in
Main.
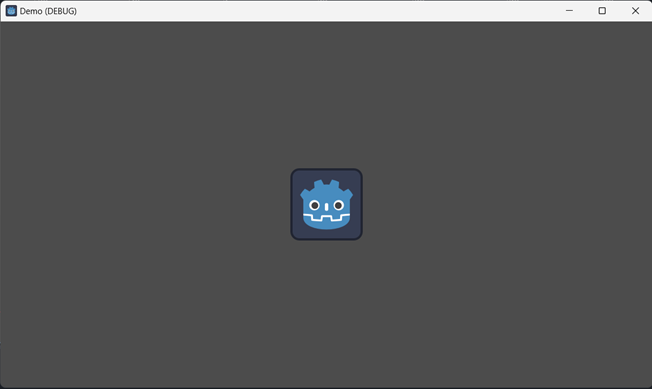
17.
Your game is running and should look like this the image
below. Isn’t it glorious?
18. Try closing your game
and running it again just to make sure your
are comfortable. 19. With your Camera2D
selected in the Scene Tree, carefully select the camera and move it to the
right of the image. Now run your game
and notice how the image moved. 20. Try moving the camera
a few times and running the game to understand how movement impacts the game. That’s it for now. Good
work! |