|
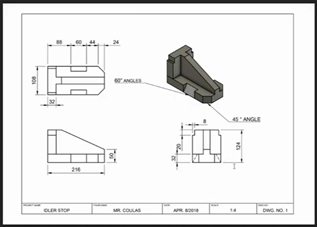
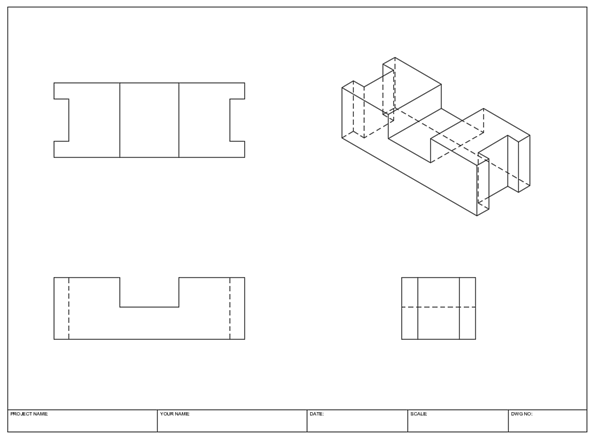
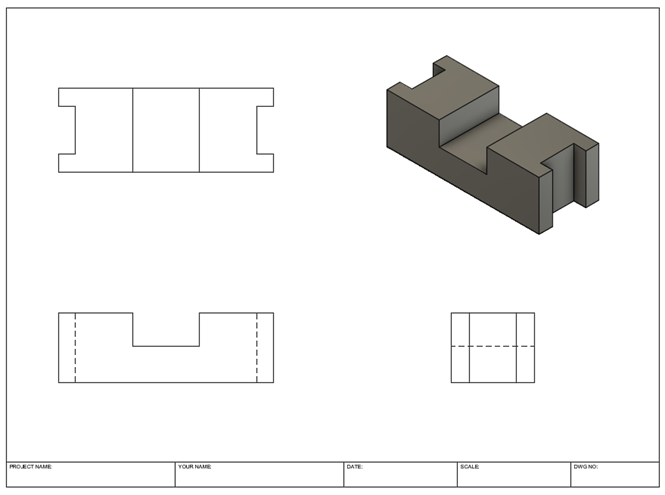
We will see how to create a drawing similar to the image below.
GETTING THE LOCKERBY TEMPLATE
(ONLY DO THIS ONCE) 1. You need to start by downloading this
title block template that Mr. Coulas created for us. Note that you could use the built-in
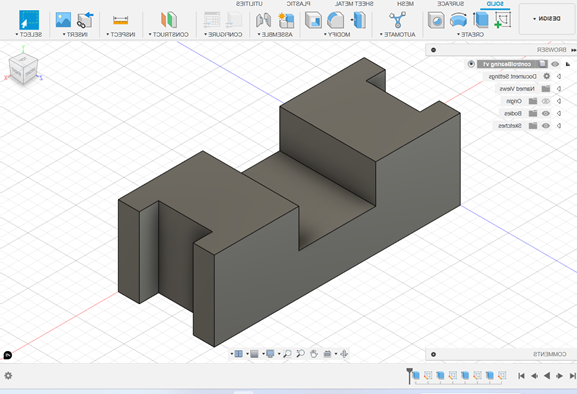
template but it is not as clean that this one (in our opinion). 2. In Fusion, choose File > Upload. Choose the title block template file that you downloaded in the previous step. 3. Open the file you just uploaded. You might have to open the Data Panel (File > View > Show Data Panel). 4. You can now customize your template. Place your name in it. Make any other changes you want. 5. Save your template file and close it. CREATING THE DRAWING 1. Open your project. I’ve opened the Control Bearing as an example.
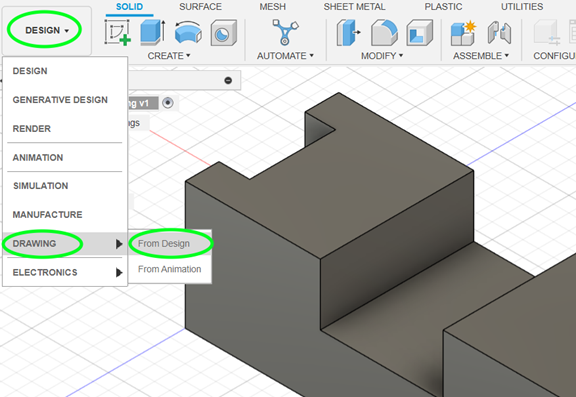
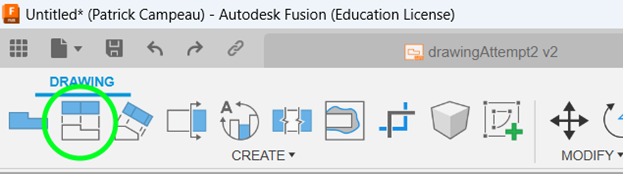
2. At the top left, click on Design > Drawing > From Design.
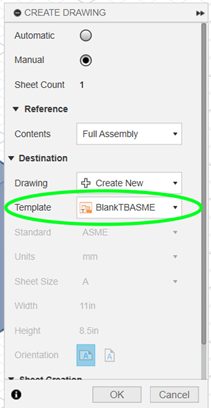
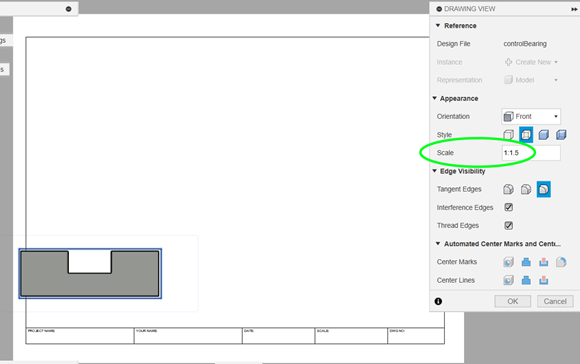
3. A Create Drawing panel will pop-up. Choose the name of our template (see image).
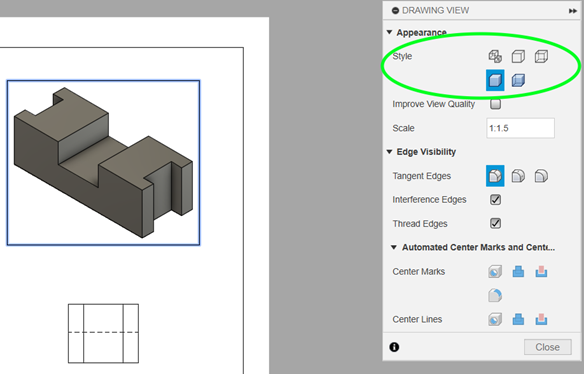
4. Place your view anywhere and a Drawing View panel appears. You can choose the scale you want. You can also manually type in a scale if you want. The scale of 1 to 1.5 is sometimes useful to use for sizing reasons. Hit Ok.
5. You can now move your view again. If you wanted to reopen the Drawing View panel, simply double click on your view.
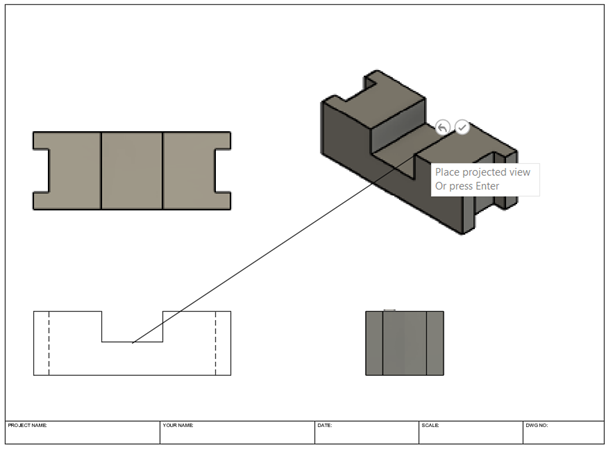
6. To create the other views, you can click on the Projected Views button at the top left (see image).
7. Now click on your existing view and move in the direction of the projected view you want. Do this a few times to get all of the views you want.
8.
Hit Enter or Escape when you are happy with
your views. You can move each of the
views if you want to.
9. By double clicking on a view, a Drawing View panel pops up. There, you can choose a style to alter the look of your view. You can also change the scale and other characteristics of your view.
10. Your
drawing is complete. You can now save
it (File > Save or Ctrl-S).
11. You can export your drawing to PDF file by choosing the Export button at the top right (or Export > Export PDF). You will be asked to save your document and then the PDF will automatically download to your computer (probably in the Downloads folder).
Done! |

Thank you to Mr. Coulas for his guidance on this.