|
BLENDER
POSING TASK A)
INSTRUCTIONS TO CHANGE THE POSE OF AN OBJECT Open
the rigged model in Blender. (See the
Models To Use section.) Click
on the armature. At
the top, instead of Object mode, switch to Pose mode. If
your tools on the left are not there, press T to toggle the toolbar on and
off. Select
the Rotate tool (or you can just hit R). Click
on the bone that you want to rotate. Use
the axis curves to rotate along those axes. Repeat
the previous two steps until you have your desired pose. B) TASK Create five of the following poses and take
a screen capture of each one. Place
the images in a Google Slides document. Want to do
extra to increase your chances at 100%?
Do an extra pose (or two) of your choice. Also, choose poses that are a little more
challenging.
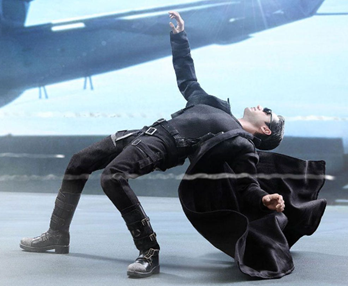
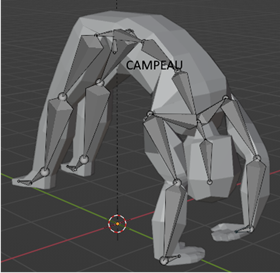
POSE #3 - MATRIX
DODGE Try to match the photo instead of the model.
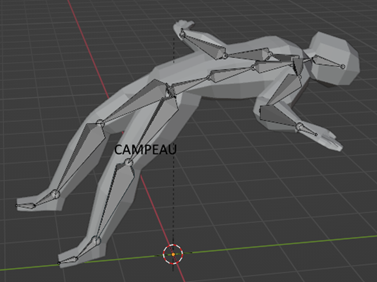
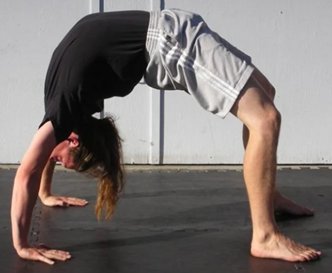
POSE #4 - BRIDGE Again, work
off the photo instead of the model.
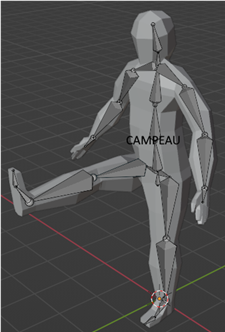
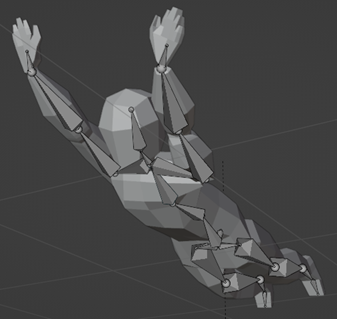
POSE #5 – SUPERHERO FLYING
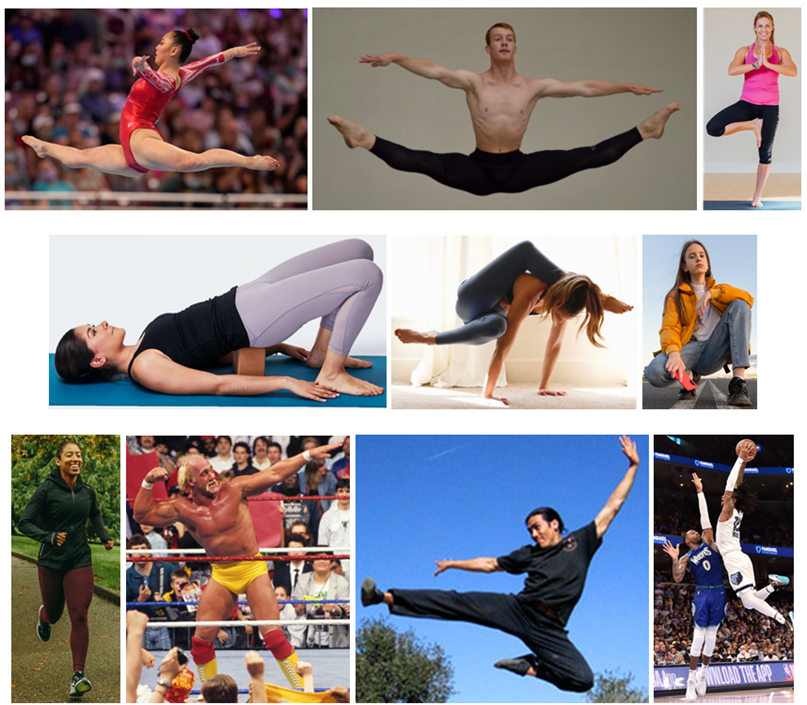
POSE #6 – ANY OF THE FOLLOWING (OR
YOUR OWN IDEA) Do one of the
following or come up with your own idea.
|