|
LESSON NOTE/GUIDE
|
|
THE
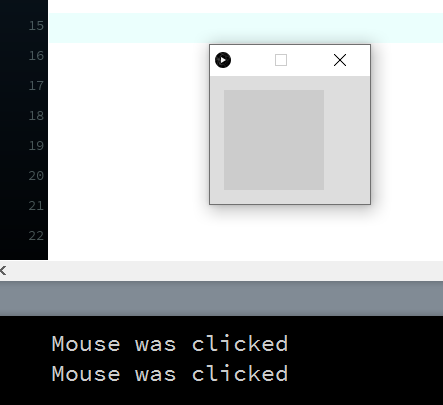
CODE public void setup() {} public void draw() {} public void mouseClicked() { System.out.println("Mouse
was clicked"); } |
|
RESULT
A small window appears.
When clicked on, a message appears in the console. |
|
EXPLANATION The function mouseClicked() is
automatically executed on frames when the mouse has been clicked. This is very easy to do! |
PROGRAM
2 – MOUSE LOCATION
· This program makes use of mouseX
and mouseY to get the location of the mouse.
|
THE
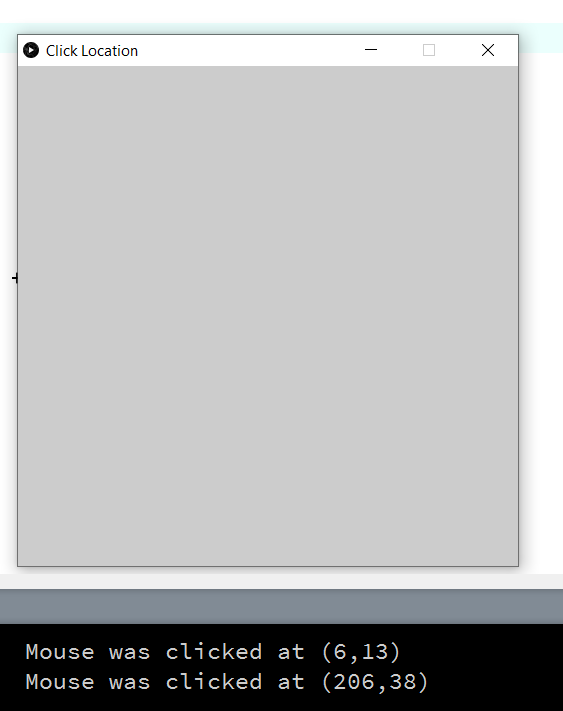
CODE public void setup() { size(500,500); surface.setTitle("Click Location"); } public void draw() {} public void mouseClicked() { System.out.println("Mouse
was clicked at (" + mouseX + "," +
mouseY + ")"); } |
|
RESULT
|
|
EXPLANATION The mouseX
and mouseY variables can be used at any time to
get the location of the mouse. |
PROGRAM
3 – ADDING RECTANGLES AT CLICK LOCATIONS
· This program makes use of mouseX
and mouseY to get the location of the mouse.
|
THE
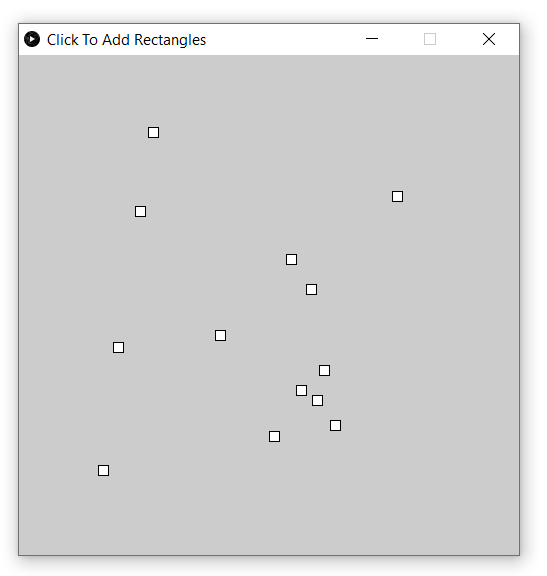
CODE public void setup() { size(500,500); surface.setTitle("Click To Add
Rectangles"); } public void draw() {} public void mouseClicked() { rect(mouseX,
mouseY, 10, 10); } |
|
RESULT
A rectangle (actually a square)
appears wherever the mouse is clicked. |
|
EXPLANATION The code is very simple. When the mouse is clicked, we draw a
rectangle with top left corner at point (mouseX, mouseY). |
MORE
Instead
of mouseClicked(), we can also use other built-in functions such as:
mousePressed()
mouseReleased()
mouseDragged()
mouseMoved()