|
LESSON NOTE/GUIDE
|
|
THE
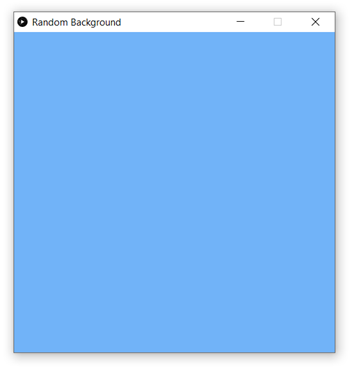
CODE public void setup() { size(500,500); surface.setTitle("Random Background"); frameRate(1); } public void draw() { background(random(255), random(255), random(255)); } |
|
RESULT
The background continuously changes from one random
colour to another. |
|
EXPLANATION In the setup, we create the window
size and set the title. We also set
the frame rate. In the draw, which is called once
per second, we draw the background to a random colour. |
PROGRAM
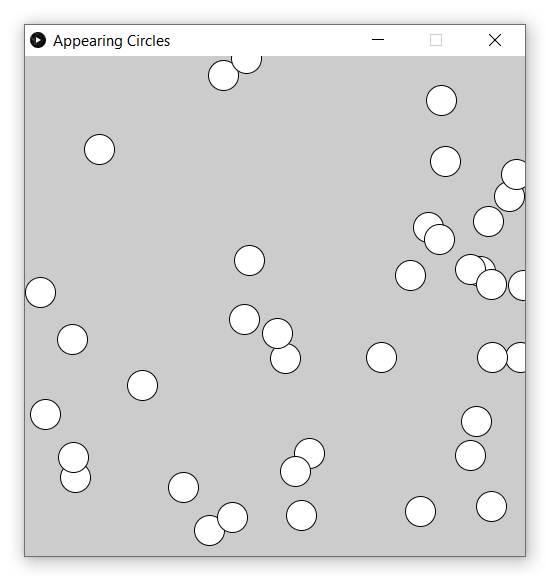
1 – APPEARING CIRCLES
· This program demonstrates a simple animation program
that makes circles appear randomly on the screen.
|
THE
CODE public void setup() { size(500,500); surface.setTitle("Appearing Circles"); frameRate(1); //1 FPS } public void draw() { float x = (float)Math.random() * width; float y = (float)Math.random() * height; ellipse(x,y,30,30); } |
|
RESULT
A new circle appears at a random location every second. |
|
EXPLANATION Unlike lesson 1, we will now be
using both the setup() and the draw()
methods. Remember that the setup() method is executed just once at the very
beginning and then the draw() method is executed over and over based on the
frame rate of the program. SETUP The first two lines in the setup
method set the size of the window and the description at the top. We have seen these already. The third line, framerate(1);, sets the frame rate of the
application to 1 frame per second.
So, the draw method will be called once per second. You should try increasing the value to 10
and running the program to see how it runs more quickly. DRAW The draw method is called over and
over for us. It is like a loop in
many ways. In this draw method, the first two
lines create random values for x and y.
The final line draws a circle at that random value of x and y. When this happens over and over,
you get circles that randomly appear all over the screen. Notice that when we calculate a
random value for x and y, we have to typecast the value of Math.random() to float by using (float)Math.random(). This is simply because the ellipse
method, like most methods in Processing, works with float values instead of
double values. Also, notice that we use the
built-in variable width and height.
They simply hold the value of the window’s width and height. So in the case above, they both had the
value of 500. |
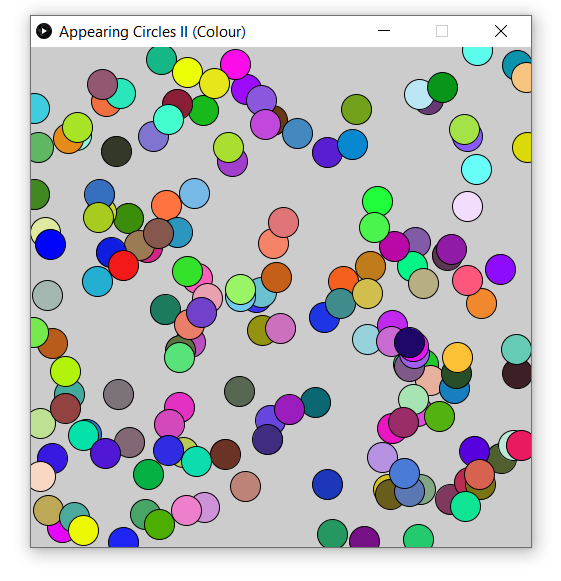
PROGRAM
1B – APPEARING CIRCLES 2
· This program takes the previous program and adds a
random colour to each circle.
|
THE
CODE public void setup() { size(500,500); surface.setTitle("Appearing Circles II (Colour)"); frameRate(10); //10 FPS } public void draw() { int
r = (int)(Math.random() * 256); int
g = (int)(Math.random() * 256); int
b = (int)(Math.random() * 256); fill(r,g,b); float x = (float)Math.random() * width; float y = (float)Math.random() * height; ellipse(x,y,30,30); } |
|
RESULT
A new randomly coloured circle appears at a random
location every 1/10th of a second. |
|
EXPLANATION This program is identical to the
previous one except for the addition of four new lines of code at the top
of the draw() method (and the increase in frame
rate to 10FPS). These additions are
in green. The first four lines in the draw
method generates random rgb values and sets the
fill colour to that randomly generated colour. Then the
method goes on to draw a randomly located circle with that fill colour. |
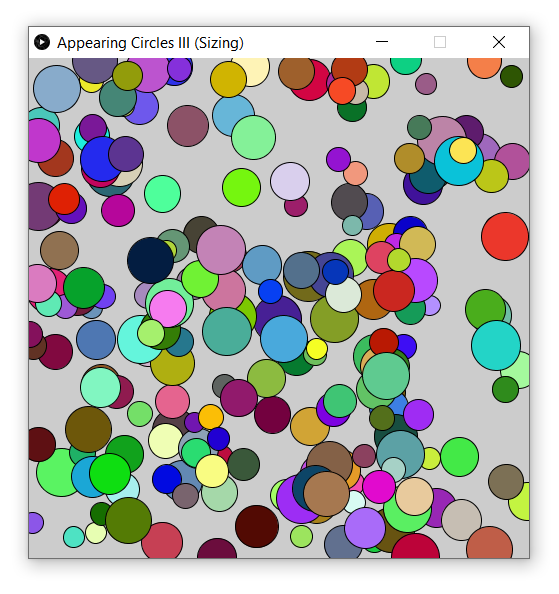
PROGRAM
1C – APPEARING CIRCLES 3
· This program takes the previous program and adds a
random diameter size to each circle.
|
THE
CODE public void setup() { size(500,500); surface.setTitle("Appearing Circles III
(Sizing)"); frameRate(10); //10 FPS } public void draw() { int
r = (int)(Math.random() * 256); int
g = (int)(Math.random() * 256); int
b = (int)(Math.random() * 256); fill(r,g,b); float x = (float)Math.random() * width; float y = (float)Math.random() * height; float d = 20 +
(float)Math.random() * 30; ellipse(x,y,d,d); } |
|
RESULT
A new randomly coloured and sized circle appears at a
random location 10 times per second. |
|
EXPLANATION Again, this program is very similar
to the previous one with the addition of one line and the alteration of
another line. The program simply now generates a
random value for a diameter. The
random value is between 20 and 49.999. Then, when the program draws the
ellipse, it uses the diameter value for both width and height. |
PROGRAM
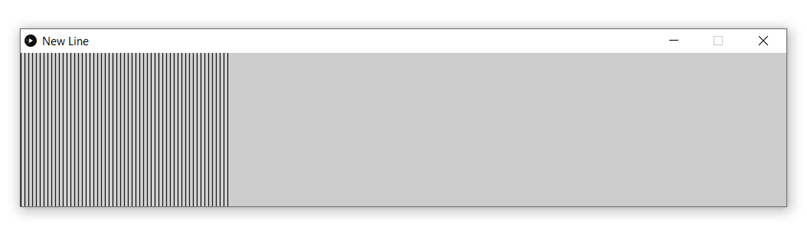
2 – APPEARING LINES
· This program will continuously create a new vertical
line.
|
THE
CODE public int x; public void setup() { size(1000,200); surface.setTitle("New Line"); frameRate(10); x = 0; } public void draw() { line(x,0,
x,800); x = x + 5; } |
|
RESULT
Each frame, a new line appears on the right of the
existing lines. |
|
EXPLANATION At the top, the datafield
x represents the x-coordinate at which the next line needs to be drawn. Using a datafield
is useful because that value is stored and can be used from one method to
another. In the setup, we make the window
and initialize x to zero. In the looping draw method, we draw
the line and update x to increase by 5 (for the next frame). |
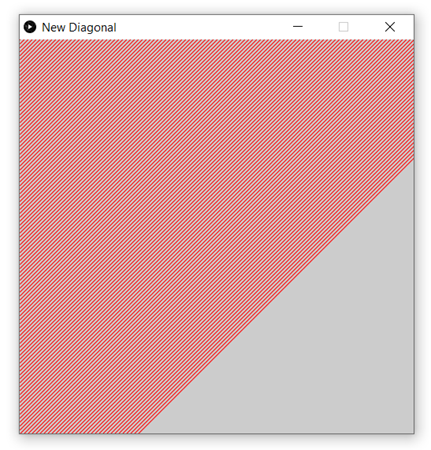
PROGRAM
2B – APPEARING LINES 2
· This program will continuously create a new diagonal
line.
|
THE
CODE public int xy; public void setup() { size(500,500); surface.setTitle("New Diagonal"); frameRate(20); stroke(255,
0, 0); //red xy
= 0; } public void draw() { //background(0,0,255); //optional line(xy, 0, 0, xy); //diagonal line xy
= xy + 5; } |
|
RESULT
Each frame, a new line appears next to the others. |
|
EXPLANATION At the top, the datafield
xy represents the x & y coordinate at the
left and top where the next line needs to be drawn. In the setup, we make the window
and initialize xy to zero. In the looping draw method, we draw
the line and update xy to increase by 5 (for the
next frame). |
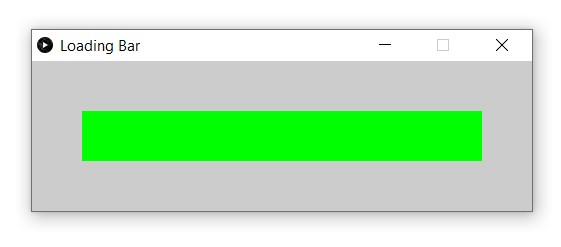
PROGRAM
3 – LOADING BAR
· This program will create a loading bar animation.
|
THE
CODE public float x; public float y; public float w; public float h; public float maxWidth; public void setup() { size(500,150); surface.setTitle("Loading Bar"); frameRate(10); //10 FPS //Initializing datafields: x = 50; y = 50; w = 0; //initial
value h = 50; maxWidth
= 400; fill(0,255,0);
//green noStroke(); } public void draw() { rect(x,y,w,h); if (w < maxWidth) { w=w+5; } } |
|
RESULT
The loading bar gradually grows up to its maximum length. |
|
EXPLANATION At the top, we have the datafields for the loading bar. They include the x, y location and the
width and height of the loading bar.
The width will change as the bar grows. Also included in the datafields
is the bar’s maximum length which allows us to stop growing the bar at one
point. In the setup, the first two lines
create the window and give it a title.
The third line sets the frame rate.
The next few lines initiliaze all the datafields (like we would do in a constructor). At the bottom, we also set the painting colour and set the stroke to noStroke. In the draw, which is called over
and over each frame, we draw the green rectangle (the loading bar) and then
increase its size. Next time, we
will draw it a slight bit bigger and continue to increase its size. This continues until we reach the maximum
length of the bar. |
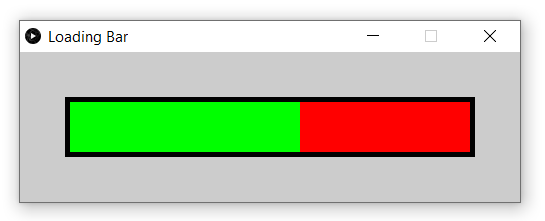
PROGRAM
3B – LOADING BAR 2
· This program is a small upgrade to the loading bar
program.
|
THE
CODE public float x; public float y; public float w; public float h; public float maxWidth; public void setup() { size(500,150); surface.setTitle("Loading Bar"); frameRate(10); //10 FPS //Initializing datafields: x = 50; y = 50; w = 0; //initial
value h = 50; maxWidth
= 400; noStroke(); } public void draw() { fill(0,0,0);
//black rect(x-5,
y-5,maxWidth+10, h+10); fill(255,0,0);
//red rect(x,y,maxWidth,h); fill(0,255,0);
//green rect(x,y,w,h); if (w < maxWidth) { w=w+5; } } |
|
RESULT
The loading bar gradually grows up to its maximum length. |
|
EXPLANATION We have only made changes in the
draw section. Instead of only
drawing a green rectangle, we now draw a black rectangle first to create
the border effect. Then, we draw a
full red rectangle. Then we draw the
green rectangle that will gradually grow to cover the red rectangle up. |
PROGRAM
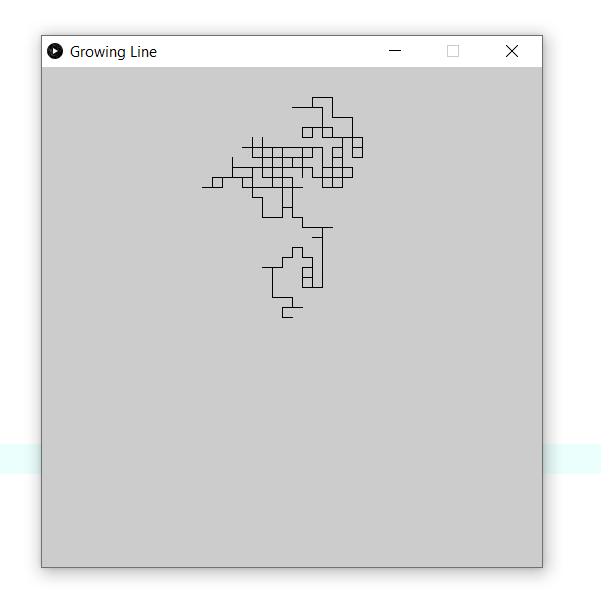
4 – GROWING LINE
· This program creates a line that continuously grows
randomly in one of the four directions (up, down, left, right).
|
THE
CODE public float x; public float y; public float jumpSize; public void setup() { size(500,500); surface.setTitle("Growing Line"); frameRate(10); //10 FPS x=width/2; y=height/2; jumpSize
= 10; } public void draw() { int
dir = (int)random(4); //0to3 float newx; float newy; //Random direction. if (dir==0) //up { newx = x; newy = y - jumpSize; } else if (dir==1) //left { newx = x - jumpSize; newy = y; } else if (dir==2) //down { newx = x; newy = y + jumpSize; } else //right { newx = x + jumpSize; newy = y; } //Draw the line. line(x,y,newx,newy); //Update x and y for
next frame. x = newx; y = newy; } |
|
RESULT
The line grows at each frame in a random direction
creating interesting patterns. |
|
EXPLANATION At the top, we have the datafields. The
x and y represent the current location of the end of the line. The jumpSize
variable is simply the amount by which the line moves each turn. In the setup, we setup the window
and initialize the datafields. In the draw, we have three things
to do. We first use a random number
to determine which direction we will move in. Based on that direction, we set the value
of what the newx and newy
coordinates will be. The second thing we do is draw the
line between the current x and y and the values of newx
and newy. Finally, we update x and y to newx and newy. NOTE:
Decreasing the jumpsize to 1 and increasing the
framerate to 1000FPS creates an interesting pattern. Try it! |
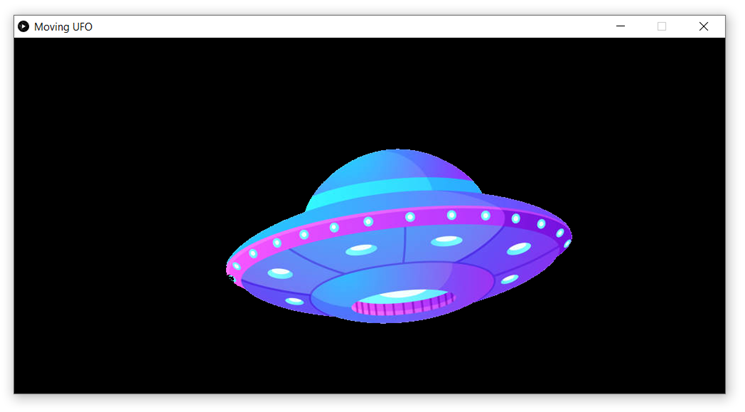
PROGRAM
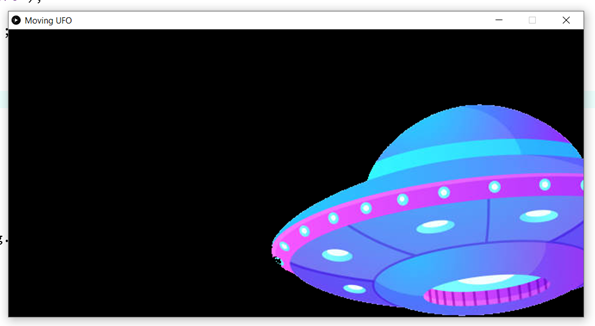
5 – MOVING IMAGE
· This program draws an image on the screen and
gradually draws it at a slightly different location over and over giving the
illusion that it is moving.
Important note: The image that you
want to use needs to be saved inside the folder of your sketch. So you usually start by saving your sketch,
saving an image to that folder and then move on to the coding.
|
THE
CODE public PImage img;
public int x; public int y; public int dx; public int dy; void setup() { size(1000,
500); surface.setTitle("Moving UFO"); img
= loadImage("ufo.png"); x = 0; y = 200; dx = 3; dy
= -1; } void draw() { background(0); image(img, x, y); x = x + dx; y = y + dy; } |
|
RESULT
The ufo image moves from the bottom left towards the top
right. |
|
EXPLANATION IMAGE FILE Click here
for the UFO image. Or you can find
your own image. Remember that the image needs to be
in the sketch’s folder. DATAFIELDS At the very top of the code, we
have the datafields to keep track of the ufo image as well as its x and y values. The dx and dy
values simply specify the direction of movement of the ufo. SETUP Inside setup, we create the window
and initialize the datafields. Notice the required line to load the
image file. The x and y initial
values specify that ufo will start at (0,
200). The dx value of 3 means the ufo will move by +3 in the x direction (right). The dy value of
-1 means that the ufo will move by -1 in the y
direction (upwards). DRAW Inside draw, we always start by
setting the background to black.
This erases anything that was drawn during the previous frame. We then draw the image at (x, y). Finally, we update the value of x
and y for the next frame. |
PROGRAM
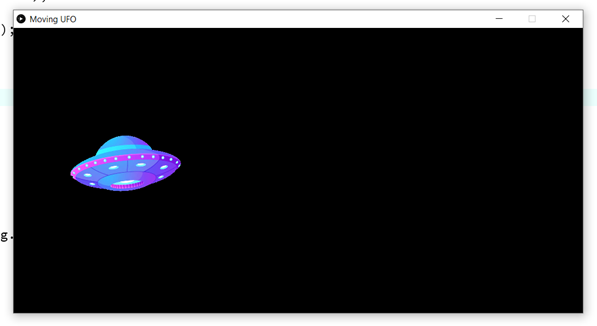
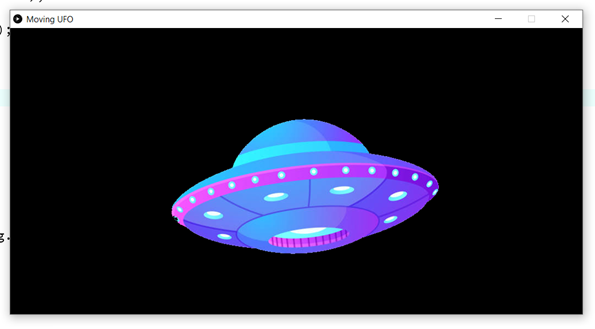
5 – MOVING IMAGE 2 (SCALING)
·
In this
program, we change a few lines of code and add a neat scaling effect.
|
THE
CODE public PImage img;
public int x; public int y; public int dx; public int dy; public float scale; void setup() { size(1000,
500); surface.setTitle("Moving UFO"); img
= loadImage("ufo.png"); x = 0; y = 200; dx = 3; dy
= -1; scale = 0.10; } void draw() { background(0); image(img, x, y, scale*img.width,
scale*img.height); x = x + dx; y = y + dy; scale = scale +
0.01; } |
|
RESULT
The ufo image now increases in scale as it moves giving
it the illusion that it is approaching us. |
|
EXPLANATION Only four lines of code were added
or changed. They are visible in the
code. First, remember that you need the
image saved in your sketch folder. At the top, the new datafield scale is created. Inside setup, the initial scale of
0.10 (or 10%) is set. Inside draw, when we draw the
image, we include the size at which we want to draw the image. This is done my multiplying the scale datafield by the image’s original width and height. At the bottom of draw, we update
scale by increasing it by 0.01 (by 1%) so that next frame, the scale will
be a little bit bigger. |
POSSIBLE OTHER DEMOS
·
Make a square move and bounce inside the window.
·
Make a circle slowly change from one colour to another.