|
Java TOPIC 25 – LOOP APPLICATION:
GRAPHICS
LESSON NOTE
CONTROL VARIABLE The
basic idea behind a FOR loop is that we continuously loop altering the
control variable by a set amount each time until we reach a set value. This
control variable often is used to represent something in our problem. For example, in the problems when you
output stars to the screen, the control variable often represented either the
current row or the current column. For
graphics, we can use the same idea.
The control variable can hold a coordinate value that will draw
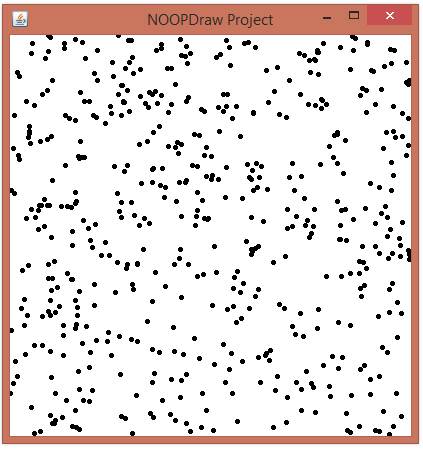
to. EXAMPLES EXAMPLE 1 – RANDOM DOTS In
this example, we will generate random numbers for both X and Y and then draw
a point at that location. We will
repeat this 550 times by using a simple for loop. In this case, the control variable is only
used for looping and doesn’t impact the statements inside the statement
block.
The
result is:
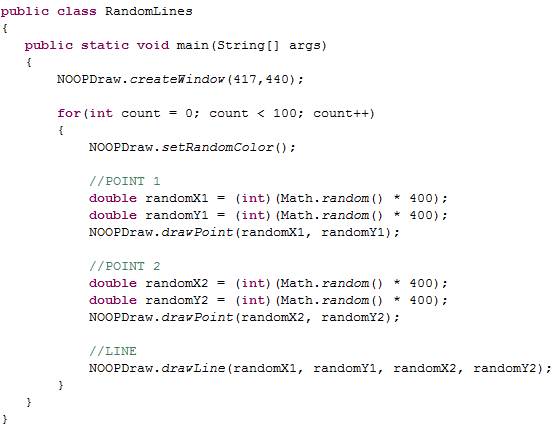
EXAMPLE 2 – RANDOM LINES In
this example, we simply create two random points like in the previous
example. Then we also draw a line
between those two points. We also
change the colour each time. All of this is inside
a loop so we end up with many lines.
The control variable doesn’t affect the drawing – it is used strictly
for looping.
The
result is:
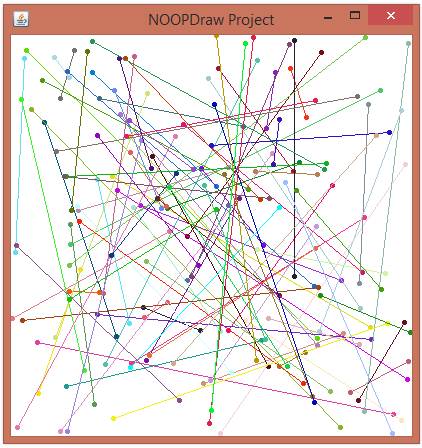
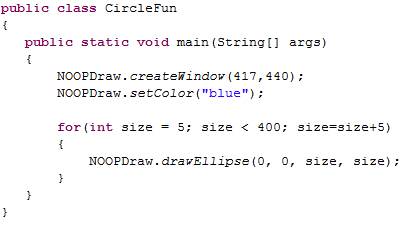
EXAMPLE 3 – CIRCLES In
this example, we create a circle inside a loop. With each pass, the circle’s size is
gradually increased by using the control variable. Note that the left and top side of the
circle are always at the same place creating the effect seen at the
bottom.
The
result is:
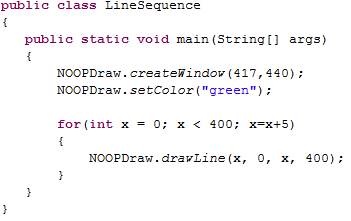
EXAMPLE 4 – SEQUENTIAL LINES In
this example, we now use the control variable as a coordinate value for both
x-coordinates of a line. For each pass in the loop, the control variable
changes and we therefore draw a line at a different location.
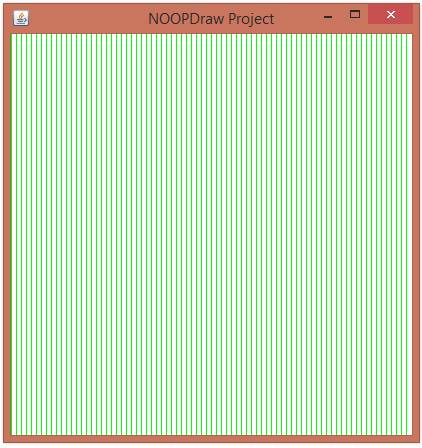
The
result is:
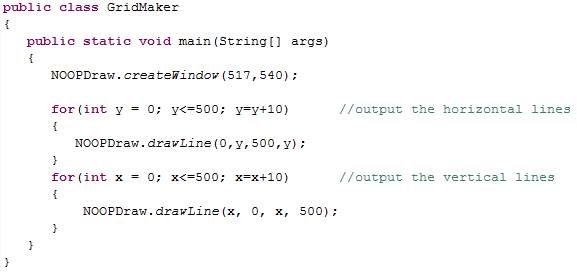
EXAMPLE 5 – GRIDMAKER
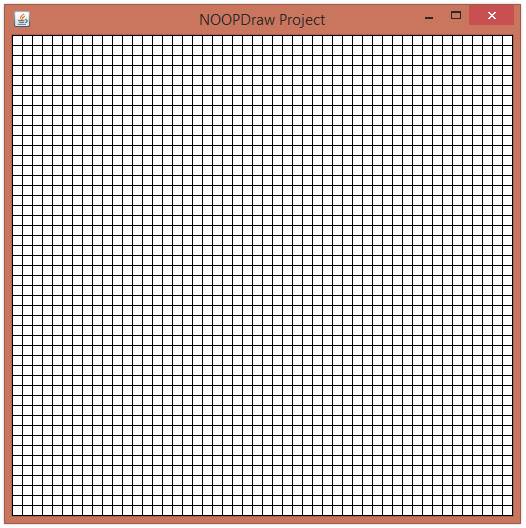
The
code above gives us:
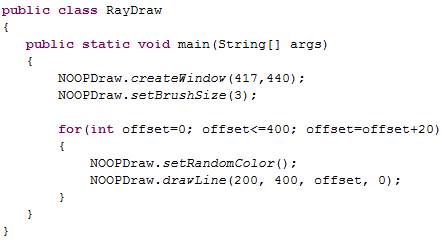
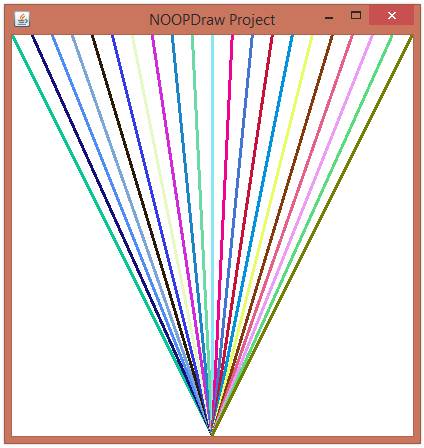
EXAMPLE 6 – SUN RAYS In
this example, we continuously output a line that has one point at (200, 400)
and the other at (offset, 0). The
value of offset changes continuously to give us different lines. The colour of
each line is random.
The
code above gives us:
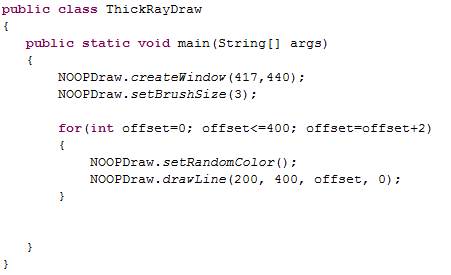
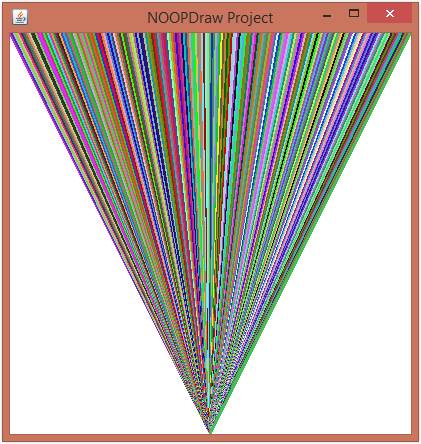
EXAMPLE 7 – MORE RAYS By
simply changing the value of the update in the for loop, we get the image below.
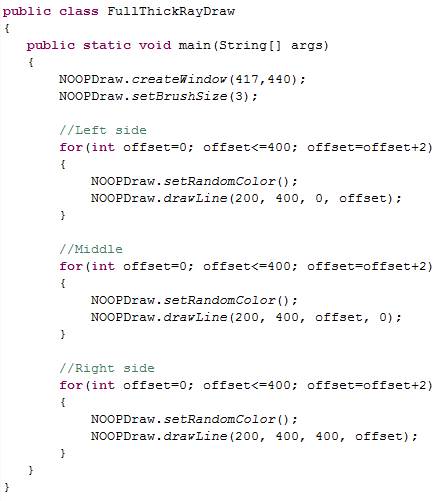
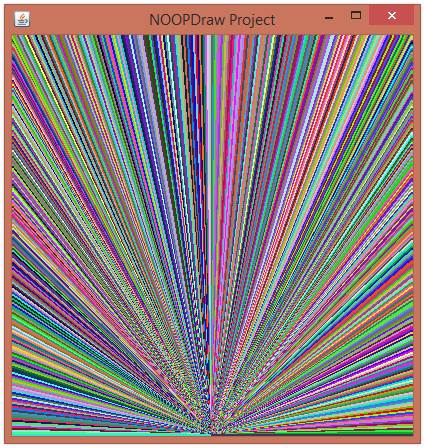
EXAMPLE 8 – FULL SCREEN The
example above has two white sections that we will also fill in the example
below. We simply output many lines
again from the center to different points along both sides.
Here
is the results:
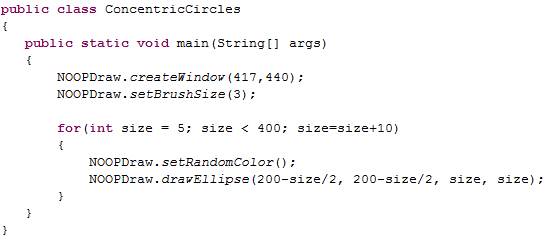
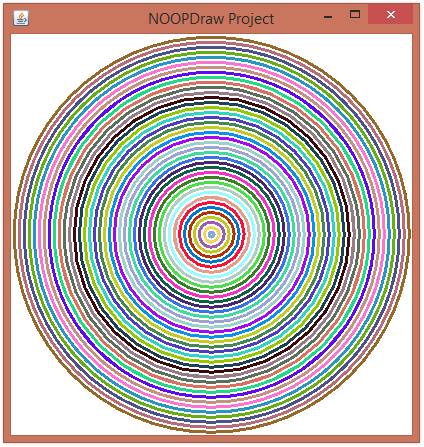
In
this example, we will use a loop to output many concentric circles. The circle diameter (size) grows by 10 with
each pass in the loop. We do this by
using the control variable. To
keep the circles perfectly centered on the same spot, we have to move the x
and y values of the circle towards the left and top of the window. (Remember that the x and y for the circle
refer to the top left point of the bounding box of the circle.) We do this by subtracting half of the size
away from both x and y.
The
result is:
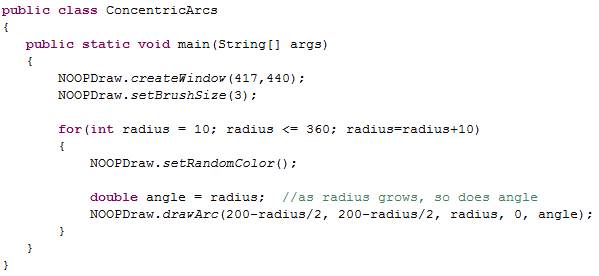
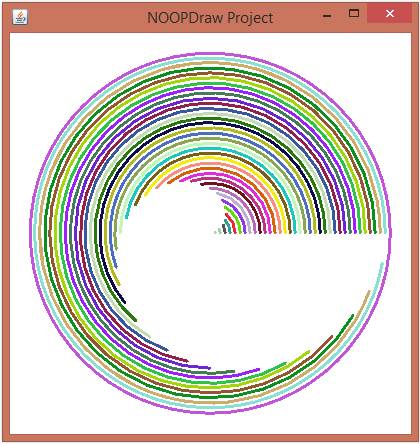
EXAMPLE 10 – GROWING ARCS In
this example, we create an arc inside a loop.
With each pass, the arc’s radius grows as does its angle. Again, to keep it centered on the same
point, we remove half of the radius from the left and top sides of the arc.
The
result is:
|